What equal size does—and does not—mean
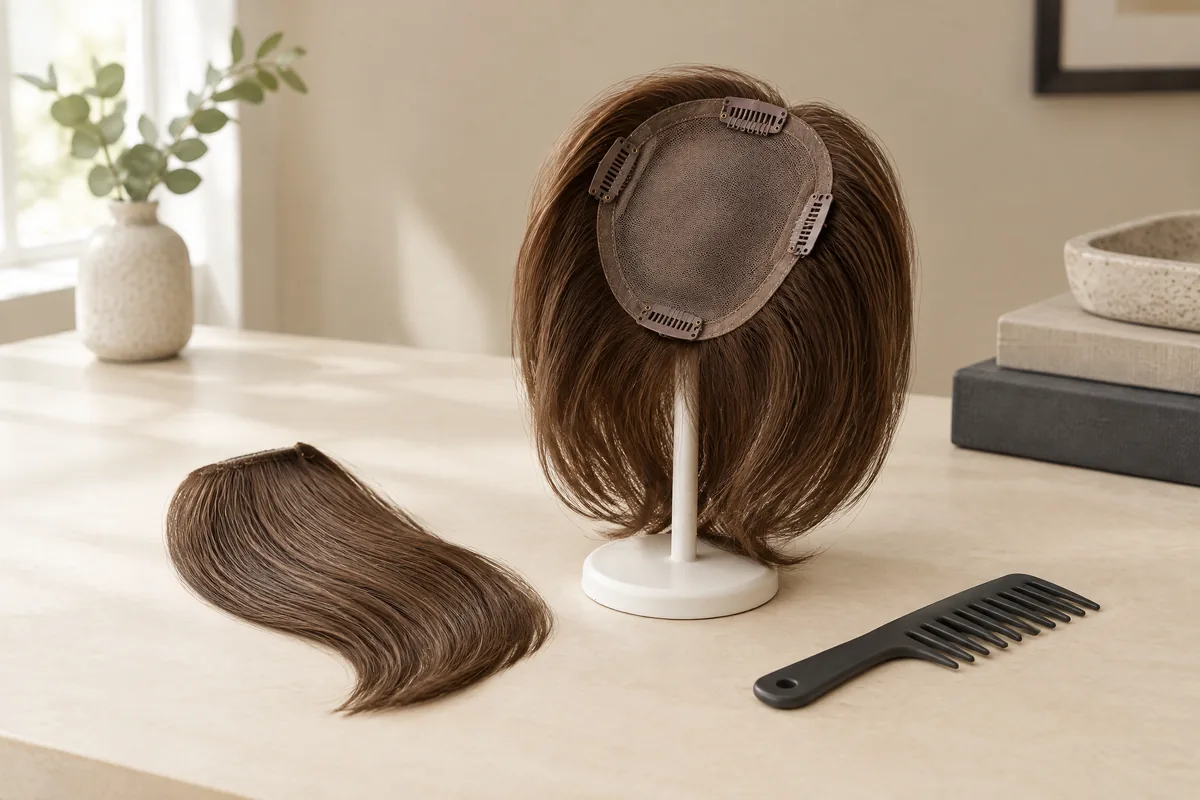
A topper is a partial hairpiece that blends with existing hair; the National Alopecia Areata Foundation describes typical toppers as attaching to that hair with combs on the base. This matters because the perimeter is not merely a coverage boundary. It also determines where blending happens and, for a clip-in design, where attachment hardware may sit.1
For a fair shape exercise, compare equal mathematical area, not an oval and a circle squeezed into the same rectangular box. Imagine an oval measuring 12 cm front to back and 8 cm across. A circle of equal area would measure about 9.8 cm across. These are illustrative drawing dimensions, not suggested sizes or specifications for a product.
The oval therefore reaches farther forwards and backwards, while the circle reaches farther sideways at its centre. Neither covers the same locations. A long, narrow part can fit inside the oval while its rear endpoint falls outside the circle; a wider crown shoulder can reverse that result. The question is where the material sits, not how much there is.
Manufacturer measurements add another complication: they may describe a flat base, while your tape follows a curved head. OWNSTRAND's guide to hair topper base size distinguishes the footprint from the desired coverage and advises comparing consistent measurement methods. Keep both the outline and the measurement convention beside the numbers so a tidy size label does not hide a different fit.
Draw one coverage sketch and two transparent outlines
Use a top-view sketch with your hair parted as you normally wear it. Draw the visible line and shade the area whose appearance you want softened, including any wider patch near the crown. This is a styling map, not a diagnosis or a way to predict future hair changes. Leave the surrounding hair visible on the drawing.
Mark the part endpoint before adding a base
Label the rear end of your usual part P, and mark the proposed front edge F. If the part curves or runs off-centre, draw that direction rather than replacing it with a straight centre line. Mark the crown whorl separately; a whorl and the end of a part are not necessarily the same point.
Trace the hypothetical oval and equal-area circle on separate sheets of transparent paper. Place each over the same sketch with its proposed front edge at F, rather than silently moving one backwards to make P disappear underneath. Outline the shaded area that remains uncovered. This exposes the trade-off between keeping the front position and reaching the rear endpoint.
- Shade the cosmetic coverage area lightly, with the part line still visible.
- Mark P at the part endpoint and F at the proposed front edge.
- Trace the oval and round footprints at the same drawing scale.
- Compare each at F first; record any later shift or rotation.
- Add attachment symbols only when their actual positions are known.
Repeat the overlay with your occasional side part if you genuinely wear one. Do not merge every possible hairstyle into one enormous shaded zone. A base that supports two usual styles may be useful; a base chosen for an imaginary collection of styles may create extra edge management every morning without improving the look you actually want.
Inspect the shoulders, not only the widest point
A widening part often resembles a narrow line opening into a broader rear patch, rather than a neat rectangle. The important places are the angled shoulders on either side of that patch. Here, “corners” means those shoulders on your coverage sketch: neither a smooth oval nor a circle has literal corners.
An oval is widest around its middle and narrows towards each end. Its maximum width can exceed the patch's widest width, yet its tapered rear can still miss a shoulder near P. A circle also narrows near its top and bottom. Measuring only the widest point therefore misses where the width is available along the part.
Compare a few cross-sections: near the front, halfway along the line, and near the rear shoulder. No calculation is needed for the first screening; the transparent outline shows whether the shaded zone crosses the boundary. Mark each crossing separately so a covered centre line does not distract you from two uncovered diagonal patches.
| Location on the sketch | Oval footprint: what to inspect | Round footprint: what to inspect | Decision clue |
|---|---|---|---|
| Rear part endpoint P | Does the longer end reach past P? | Does P fall beyond the circular edge? | Length helps only when it reaches the right place |
| Angled crown shoulders | Does tapering leave either shoulder exposed? | Is the broader middle aligned with the shoulders? | Maximum width alone can mislead |
| Front edge F | Does the narrow front meet the intended hairstyle? | Does the broader outline extend into exposed front hair? | More side coverage may mean more edge concealment |
| Off-centre part | Can orientation follow the line without losing a shoulder? | Does lateral coverage help without excess perimeter? | Compare both sides, not a symmetrical assumption |
If the shaded patch needs width close to the rear, shifting a round outline backwards may help the shoulders but move its front edge away from F. Record that cost rather than declaring the circle a better fit. The comparison becomes useful when you name the uncovered front section or the additional front hair needed for blending.
Decide where the visible edge is allowed to fall
Coverage is not complete simply because the shaded zone sits inside an outline. The edge must also work with the hair surrounding it. On your sketch, mark where hair usually falls across the perimeter and where a part, fringe opening or sweep exposes it. Those exposed segments deserve closer attention than an equally long edge hidden under falling hair.
For example, a round footprint may cover both crown shoulders but extend further into the side hair you regularly tuck behind an ear. An oval may leave more of that side hair free yet bring its rear seam close to the whorl. Neither is inherently more discreet: the direction and density of the surrounding hair change the practical result.
Test the intended hairstyle at normal viewing angles, including a slightly raised side view, rather than judging only a straight-down photograph. In Hong Kong, an air-conditioned office and a breezy pavement can expose different sections as hair moves. The useful question is whether a brief movement reveals an edge, not whether a perfectly arranged still image looks seamless.
Avoid solving a poor outline by piling hair over every edge. If concealing the perimeter requires a heavier top than you like, the shape may be asking too much of your hairstyle. Conversely, a modestly broader base can be reasonable when its edge lands under dependable blending hair. Balance the coverage gained against the styling effort it adds.
Put attachment positions on the same map
Two bases with similar footprints can have different clip layouts. Draw each confirmed clip position as a small box, then distinguish it from the visible edge. Some hardware sits inside the perimeter rather than exactly on it. A shaded zone may fit under both outlines while one layout places an attachment on a section of hair you do not want to load.
Separate coverage from comfortable anchoring
A larger outline is not proof of a stronger or more comfortable hold, and more clips are not automatically better. The attachment layout must work with the surrounding hair and the manufacturer's fastening method. The American Academy of Dermatology warns that repeated pulling can damage hair and identifies pain or stinging as reasons to change a pulling hairstyle.2
During a model-specific fitting, check whether the base lies down without pulling its edges taut. Open and refasten according to the maker's instructions rather than using a tighter grip to flatten a lifted area. If a placement hurts, stop that trial. A drawing can flag a doubtful anchor location; it cannot establish how much tension your hair should bear.
Moving an oval backwards to gain coverage at P can also move its front clip. Rotating it to follow a diagonal part shifts every side attachment, not just the rear tip. Judge the whole arrangement after each adjustment. If the only workable outline position produces uncomfortable or impractical anchoring, that candidate has failed even though its coverage looks excellent on paper.
Three situations where the preferred shape changes
Consider a hypothetical long centre part that stays narrow all the way to P, with usable blending hair on either side. At the shared front position F, the oval reaches the endpoint while the circle stops short. The oval is the more promising candidate here because it adds reach where needed, not because oval bases are universally designed for widening parts.
Now consider a shorter part opening into a broad crown patch. The oval reaches beyond P but its taper misses the angled shoulders. The circle covers those shoulders and ends under surrounding hair. Its extra width is doing useful work in this situation; the trade-off is checking whether the wider side perimeter interferes with the wearer's usual sweep or tuck.
Finally, imagine an off-centre part beside a crown whorl. Rotating the oval appears to follow the line, but a side clip then lands in an awkward anchoring position. A circle may allow a different placement, yet its parting panel still has to support the desired hairstyle. Neither shape is a clear choice until outline, panel and attachments work together.
OWNSTRAND's hair topper for widening part discussion treats the part's beginning, endpoint and continuation into the crown as separate coverage details. Bring those same landmarks to your comparison. Describing “a narrow line with a wider rear shoulder” is more useful than asking for a small topper and discovering that its width sits in the wrong place.
Translate the sketch into an exact model comparison
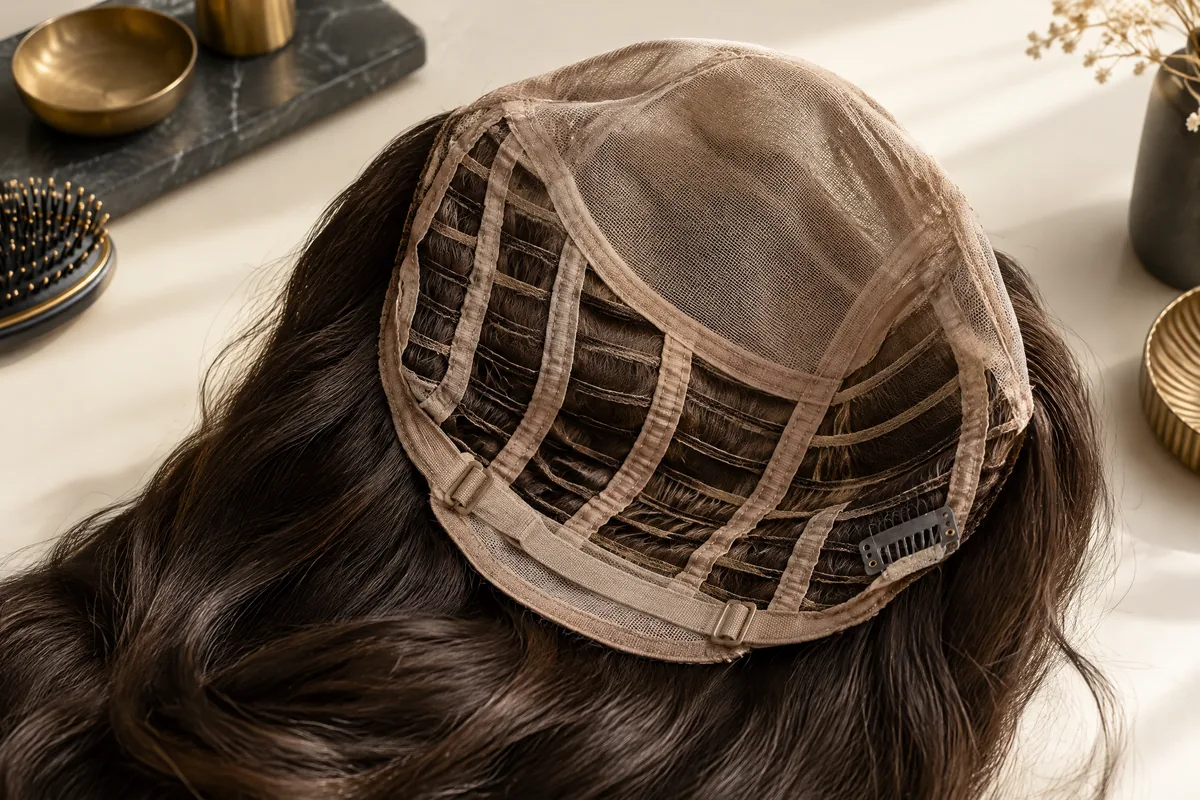
A generic oval or circle is only a first screen. Obtain an underside view or actual outline for each candidate, because real bases can have asymmetrical fronts, rounded rectangles, reinforced tabs or uneven tapering. A construction description such as monofilament tells you something different from footprint shape. It does not supply the missing perimeter or clip coordinates.
The parting area is another boundary inside the base. NAAF notes that parting space can be fixed or adjustable depending on construction. A base may cover your sketch while its permitted parting position conflicts with the direction you wear. Compare the visible part you want with that specific panel, rather than assuming every covered centimetre can show a part.1
| Detail to obtain | Record beside the sketch | Why it changes the decision |
|---|---|---|
| Base dimensions and orientation | Front-to-back and side-to-side, with units | Prevents a sideways measurement becoming assumed rear reach |
| Underside outline | Trace of front, shoulders and rear edge | Reveals tapering hidden by headline dimensions |
| Attachment layout | Actual clip or fastening locations | Separates coverage success from anchoring feasibility |
| Parting area | Fixed line or confirmed adjustable panel | Tests whether the chosen direction is possible |
| Hair length and fibre | Separate from the base measurements | Governs blending and care, not footprint area |
OWNSTRAND's hair toppers catalogue separates base information from hair length. For example, its Amore Md Mono Top Piece record lists a 5.25 by 5.75-inch base and an 8-inch hair length. Those fields answer different questions, and the listing requests an enquiry for quotation and availability; the example is not confirmation that this model is in stock.
Choose the trade-off you can live with daily
Keep a candidate only if you can explain what its outline improves and what it costs. “Reaches P but needs careful blending at the rear” is a useful judgement. “Bigger must be safer” is not. When both shapes cover the sketch, prioritise comfortable placement and a perimeter that works with your ordinary hairstyle over surplus area.
Take the marked sketch, your normal parting photo and the candidate's underside details to a fitting discussion. OWNSTRAND can discuss a made-to-order human-hair enquiry and model-specific arrangements at its Kwun Tong salon, Unit 2103, 利寶時中心, 50 Hoi Yuen Road. Ask which sample or option can be discussed before visiting; catalogue references do not promise a particular sample or immediate supply.
Do not trim a base, relocate clips or apply heat to force a shape decision without the exact product's instructions and appropriate assistance. Hair fibre and construction impose their own care limits. The strongest choice is not the outline with the largest number: it is the one that reaches the right landmarks, conceals its edge and can be worn comfortably.
Questions & answers
Can two toppers have the same length and width but different coverage?
Yes. A rounded rectangle, tapered oval and irregular base can share maximum measurements but fill different parts of the enclosing rectangle. Ask for an underside outline, especially when your desired coverage widens near one end.
Should I leave a fixed extra margin around my part?
There is no universal margin for every base and attachment method. The useful allowance depends on where the edge and fastening can sit, how the surrounding hair blends, and the exact model's instructions. Avoid adding an arbitrary measurement to every side.
Is a photograph enough to compare the footprints?
A photograph helps record the part direction and desired appearance, but perspective changes apparent proportions. Pair it with a measured sketch and an actual base outline. Keep the camera angle consistent when comparing possible placements.
Can I turn a topper around to gain more rear coverage?
Do not assume the front and rear are interchangeable. A shaped hairline, parting construction, hair direction or fastening layout may depend on orientation. Follow the model's designated front and ask about any proposed rotation before wearing it differently.
What if neither an oval nor a round footprint works?
Compare another outline or coverage format rather than choosing the less unsuitable one. An irregular or broader base may address the mismatch, but its edges and attachment still need assessment. A made-to-order discussion is not a guarantee that every requested shape can be supplied.
Put the next step into practice
Build a clearer understanding of hair shape and everyday styling through learning at Canvas. Hair styling courses in Hong Kong。
Explore more practical styling and selection notes. Canvas hair and beauty journal。
Tell the team which hair styling techniques you would like to learn. Contact Canvas Academy。
Sources & further reading
- Wigs and Toppers: Understanding the Basics
Explains partial toppers, their usual attachment to existing hair, and why parting space depends on construction rather than the whole base outline.
- Hairstyles that pull can lead to hair loss
Explains the risks of persistent hair tension and identifies pain or stinging as warning signs when evaluating a pulling hairstyle or attachment.