Map the clips before your first evening removal
A topper can look ready to come off while one hidden clip is still closed. The longer its hair, the easier it is to mistake resistance at a fastener for a knot at the ends. Separate those two jobs: first release the attachment with the base supported; then deal with the hair lengths once the piece is off.
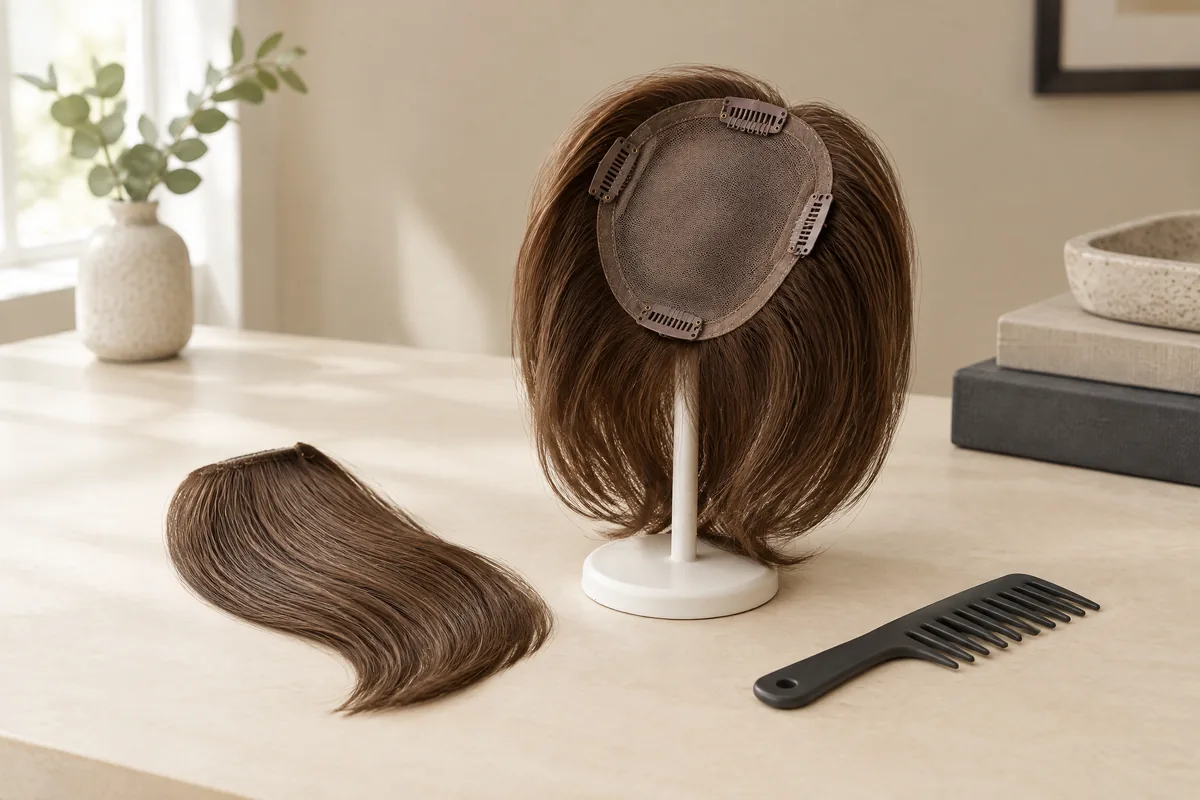
For an off-head practice, turn the base towards you over a clear surface. Identify the front from the product instructions, count the actual clips and practise opening and closing them without hair inside. Draw their positions on paper rather than marking delicate base material. Use the wearer's left and right consistently, because a mirror reverses the view.
The following underside diagram is a five-clip teaching example, not a particular product. F is the front clip; SL and SR are the side clips; BL and BR are the rear clips. A four-clip or six-clip piece needs its own map. Add any extra clip instead of treating it as an optional fastener.
            FRONT / FOREHEAD
                  [F]
          .-----------------.
     [SL] |       BASE      | [SR]
          '-----------------'
             [BL]     [BR]
               BACK / CROWN

       Labels use the wearer's sides.
OWNSTRAND's clip-in hair topper guidance distinguishes fastening from fibre and base construction. That distinction matters here: the diagram cannot tell you how your clip operates, and a similar-looking base may have a different arrangement. Keep the actual piece's opening instructions beside your map until the action becomes familiar.
Prepare a clear landing place and separate loose hair
Choose a well-lit mirror and a clean, smooth surface within reach. Sit down if that makes two-handed handling steadier. Remove hairpins, an elastic or a headband that joins the topper to your own hair. Undo a blended ponytail before touching the attachment clips; otherwise the shared hairstyle can keep both sets of hair connected after the clips open.
Clear the ends without combing against closed clips
Ease loose lengths away from a collar, necklace or scarf with your fingers. If a small knot joins the topper ends to your own hair, separate only the accessible strands while supporting the nearby lengths. Do not run a brush from the crown through the entire blended style. Resistance would be transmitted back to clips that are still gripping hair.
Have a wide-tooth comb or the maker-approved tool ready for later, but keep scissors out of the removal routine. A snag is not a reason to cut near your scalp. If you cannot see the caught strands or reach a rear fastener comfortably, ask someone to help identify it rather than guessing which hair belongs to the piece.
Your preparation checklist can stay short:
- All styling pins and shared elastics are removed.
- Topper lengths are clear of clothing and jewellery.
- Every attachment appears on the map.
- Both hands can reach the clips without stretching the base.
- A smooth landing surface is ready beside you.
Open in a counted sequence, with the base supported
For the sample map, try SL, SR, BL, BR, then F. This is a suggested counting order, not a universally safer direction or a replacement for manufacturer instructions. It leaves a memorable front reference until the end. If your maker specifies another order, follow it and record that order instead; the important checkpoint is complete release before lifting.
Place one hand against the base to keep it seated and prevent movement as attachment points are released. Support a stable perimeter section rather than gripping hair or stretching a fine central panel. With the other hand, locate the first clip and operate its release as instructed. An audible click alone does not prove that its teeth are free of hair.
Keep the base close to the head while you gently disengage the opened teeth in their release direction. Do not drag them sideways through strands. Reposition your supporting hand as needed so the last attached clip is not carrying a hanging topper. Opening and disengaging a clip are separate checks; either can be incomplete even when the other seems finished.
| Sample order | Clip label | Action while the base stays supported | Check before continuing |
|---|---|---|---|
| 1 | SL | Open the left side clip and ease its teeth clear | No natural strand remains hooked |
| 2 | SR | Open the right side clip without twisting the base | Both sides are released |
| 3 | BL | Locate and release the back-left clip | Hair is not looped around its hinge |
| 4 | BR | Release the back-right clip with the base still seated | Both rear clips are clear |
| 5 | F | Support the front perimeter and release the front clip | All five clips are open and disengaged |
Before removal, make a final fingertip check against the map: F, SL, SR, BL and BR. Count actual fasteners, not just remembered clicks. Then cradle the base and lift it gently clear while guiding its loose lengths away from your own hair. If anything resists, stop immediately, lower the piece back towards its seated position and locate the connection.
Find the snag instead of applying more force
A clip snag usually feels local: one area stays connected while the surrounding base is free. A length tangle is more likely to involve a visible junction lower down, such as hair wound around an earring or mixed ends caught at a collar. These are working clues, not reasons to pull experimentally. Look and feel for the actual connection.
For a strand caught in open teeth, hold the base steady and ease that strand away with your fingers. For a loop near a hinge, avoid repeatedly snapping the clip shut and open; the loop needs identifying, not extra pressure. Stop if the clip will not operate normally, its teeth look bent or the base stitching moves with the mechanism.
Consider an illustrative after-work situation: all five clips are open, but the right side still feels attached. Inspection finds the topper ends wrapped around a hoop earring, below SR. The solution is to support those lengths and unwind them from the jewellery, not reopen SR repeatedly or lift harder. Record the snag as a length connection rather than a clip fault.
Pain during wear is a separate concern from an awkward removal. The American Academy of Dermatology warns that pain or headache with extensions can indicate excessive tightness, and that repeated pulling can damage natural hair. Do not treat discomfort as proof of a secure attachment; stop wearing a pulling arrangement and have it reassessed.1
Keep a removal-order and snag-location log
A useful log takes only a few observations, not a strand count. Write the opening order, where resistance occurred, whether the clip was open and what cleared the connection. Include a blank or 'none' when removal was smooth. That prevents a notebook from becoming a collection of problems with no record of the routines that worked.
Use the clip labels for attachments and separate labels for lengths: left ends, right ends or back lengths. Note clothing or a shared hairstyle only when it was relevant. The sample entries below are invented teaching situations, not customer results. Replace them with your own observations, and add a date in your personal notebook if it helps you compare occasions.
| Removal order | Snag location | What was actually connected? | Action or question for next wear |
|---|---|---|---|
| SL–SR–BL–BR–F | BL | An open tooth still held a strand | Improve lighting and check teeth before moving on |
| SL–SR–BL–BR–F | Right ends, below SR | Hair wrapped around jewellery | Clear earrings from loose lengths first |
| Maker's stated order | Back lengths | A small knot where hair met a textured collar | Inspect the ends off-head; try a smoother collar |
| Your recorded order | None | No remaining connection | Keep the same preparation and release checks |
Look for the same location recurring, not the fastest completion. Repeated resistance at one clip may warrant inspection of its mechanism, placement or surrounding hair. Repeated knots at the ends point towards length care or friction instead. Change one relevant variable at a time so you can tell whether the adjustment helped, rather than replacing every part of the routine together.
Detangle the removed human-hair piece in sections
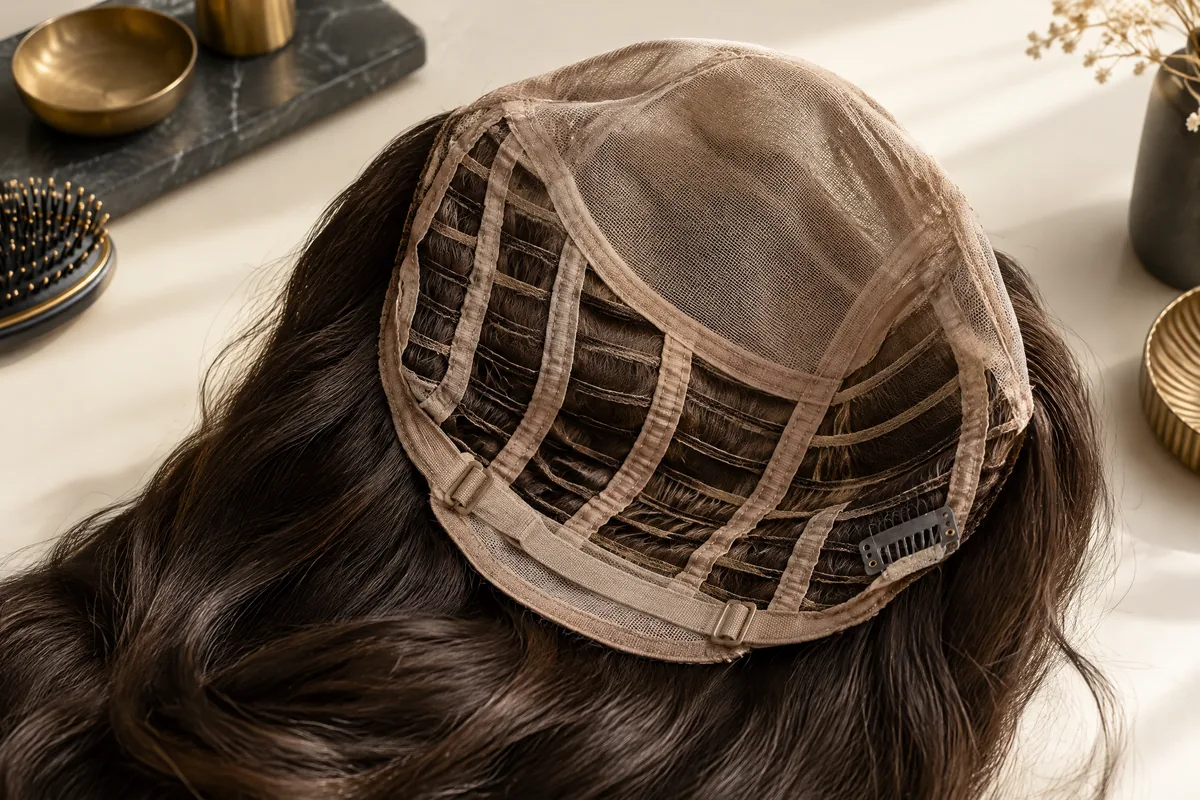
Once the piece is off, support the base on its approved stand or a clean surface and inspect the underside before putting it away. Remove loose trapped strands gently. Check that open teeth are not catching the topper's own hair when you turn it. Do not use the hair lengths as a handle to carry, shake out or suspend the piece.
For a human hair topper, treat evening detangling and washing as different decisions. A knot does not automatically mean the piece needs a wash. Identify the exact fibre and care directions first, then choose a suitable tool and any permitted detangling product. Human hair does not establish Remy status or permission to colour or heat-style it.
Work from the ends without loading the attachment knots
Divide the hair into manageable sections and support each section above the tangle. Begin at the free ends with small, gentle movements, progressing upwards only after the lower section is clear. This support reduces the force reaching the base. Avoid raking a comb across delicate mesh or through the attachment knots in an effort to reach a stubborn tangle.
Jon Renau's human-hair care guide recommends detangling before washing, keeping conditioner away from the base and avoiding rubbing the hair during washing. Its drying instructions specify gentle wide-tooth comb use rather than brushing while wet. Those are instructions for its human-hair products; use the directions supplied for your particular topper rather than copying another maker's whole routine.2
The trade-off is maintenance as well as styling choice. Human-hair pieces need care for the processed hair and the base, while synthetic pieces need tools and products compatible with their particular fibre. Neither 'real hair' nor 'synthetic' means snag-proof. Do not use heat to force a knot straight; styling temperatures and methods must come from the exact product instructions.
Separate coverage from a suitable anchoring area
A perfectly counted removal cannot make every clip position appropriate. The American Hair Loss Association says clips need enough healthy hair for support and should ideally grip reasonably strong hair rather than repeatedly stressing weak hairs. It also explains why a base that covers the visible area may still be too small to reach suitable attachment positions.3
For example, a small base may cover a widening part, yet place its front clip over sparse, fragile hair. Choosing it solely because it is less bulky leaves the anchoring problem unresolved. A different footprint or attachment design may be worth discussing, but more coverage also changes blending and handling. Do not add tension simply to make the smaller piece stay put.
Compare hair toppers by the location of the attachment points as well as their coverage. When asking OWNSTRAND about an option, share the model reference and a practical question: can its clips reach appropriate supporting hair, and can you comfortably release them? Catalogue entries require quotation and supply confirmation; they are not a promise that a piece is immediately available.
Finish the routine with a base and hardware check
Before storage, check for a distorted clip, loose stitching or a trapped hair loop under the base. Keep the piece's hair clear of the teeth and follow its storage instructions. If the clip design allows it, close empty clips once the hair is clear so exposed teeth are less likely to catch loose lengths. Never force a damaged mechanism closed.
Jon Renau identifies friction against shoulders and textured clothing as possible contributors to tangling in longer human-hair styles. If your log repeatedly names the back lengths after wearing wool, trying a smoother collar is a focused adjustment. It addresses the recorded contact point without blaming the clips for a knot that formed away from the attachment.2
Ask for handling help when a rear clip remains hard to reach or the same fastener repeatedly catches hair. Bring the clip map and a brief snag description so the question is specific. A workable routine is one you can perform with the base supported and every connection released; speed should follow familiarity, not replace those checks.
Questions & answers
Can I practise the release action before wearing a new topper?
Yes. Practise off-head over a clear surface with no hair inside the clips. Learn the maker's opening action and count every fastener before attempting on-head removal.
Should I remove a conventional clip-in topper before bed?
The American Hair Loss Association generally advises removing clip-based toppers for sleeping and showering. Follow the exact product instructions rather than treating a removable topper as a continuously bonded system.
Does a six-clip topper need the five-clip order shown here?
No. Draw all six positions and label them consistently. Use the maker's stated order if supplied; never leave an extra clip out of the final release check.
What if my topper uses clips and an adhesive section?
Opening the clips will not release the adhesive. Follow the maker's separate removal instructions for that construction or seek handling assistance; do not peel it off using the clip-only routine.
Can I move or replace a troublesome clip myself?
Ask the maker or a suitable hairpiece professional before altering it. Relocation can affect support and base integrity, and repeated catching may come from placement rather than a faulty clip.
Put the next step into practice
Build a clearer understanding of hair shape and everyday styling through learning at Canvas. Hair styling courses in Hong Kong。
Explore more practical styling and selection notes. Canvas hair and beauty journal。
Tell the team which hair styling techniques you would like to learn. Contact Canvas Academy。
Sources & further reading
- American Academy of Dermatology — How to prevent hair damage from a weave or extensions
Explains why repeated pulling can damage natural hair and why pain or headache with an attached hairstyle calls for less tension.
- Jon Renau — HOW TO: Human Hair Care
Manufacturer guidance on pre-wash detangling, base protection and friction-related tangling in its human-hair wigs and hairpieces.
- American Hair Loss Association — Hair Toppers for Women
Explains the relationship between base coverage, healthy supporting hair and clip placement, including reasons to reassess uncomfortable attachments.