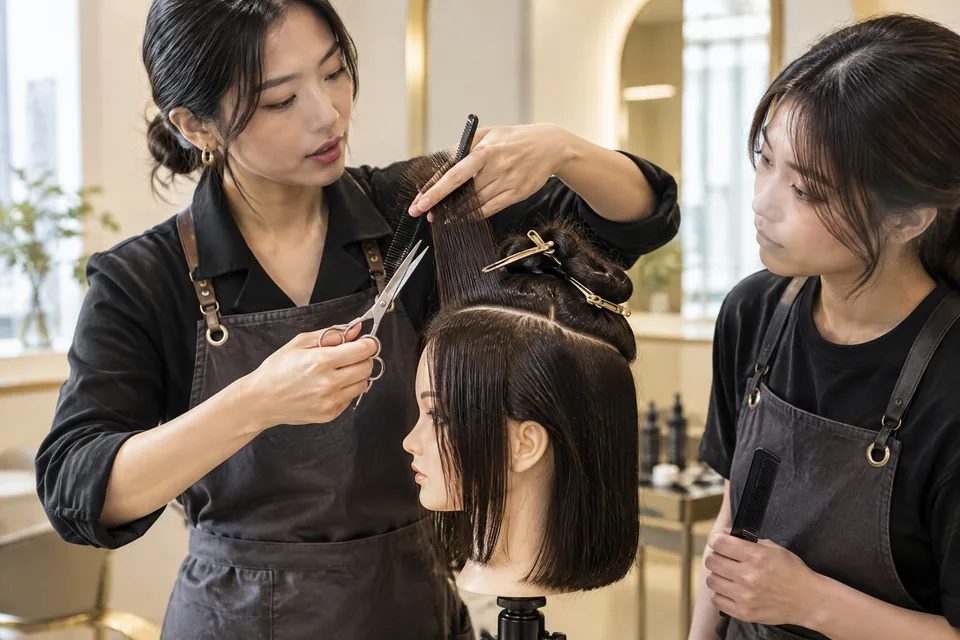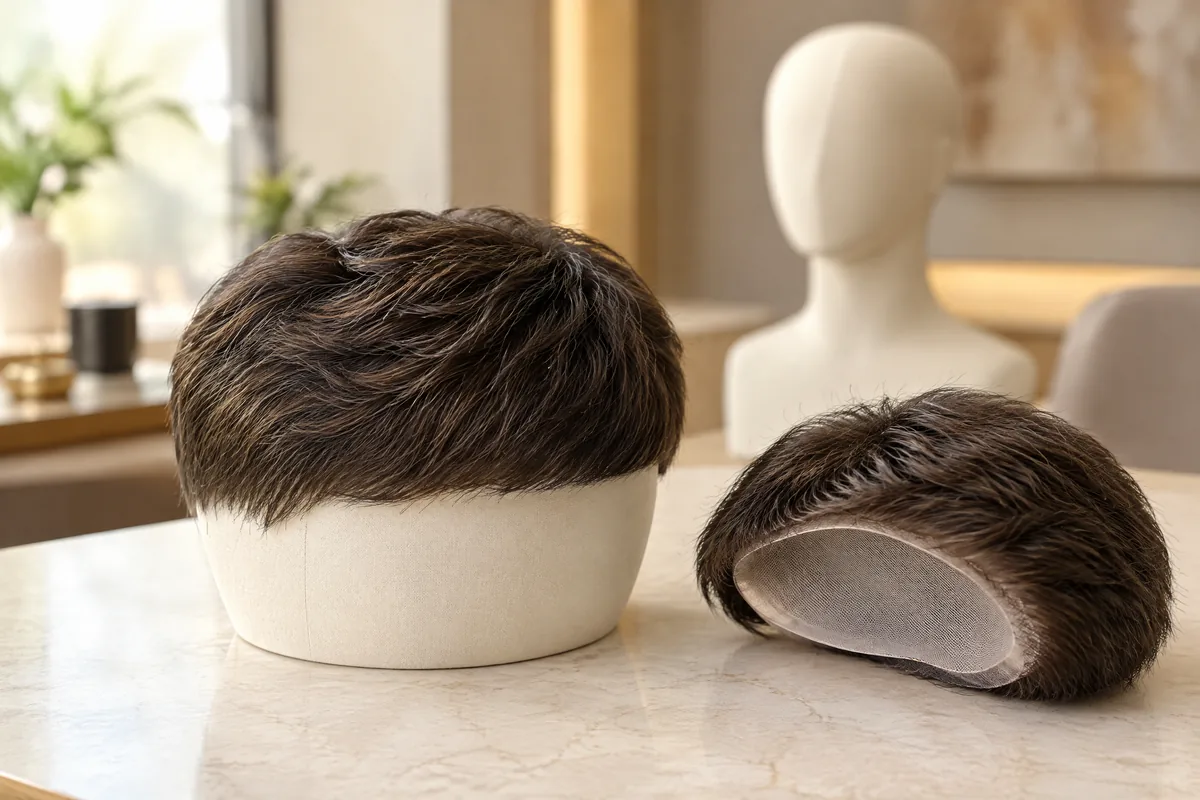
What actually changed when the sides were cut?
A tidy haircut can create an unexpected result: the top suddenly looks heavy, although you were happy with it yesterday. The useful comparison is between the unchanged piece and the changed natural hair around it. Removing side length can reveal a pale strip of scalp or take away the width that previously balanced the top.
Here, density means how much hair the piece contains, while apparent fullness means how much hair it seems to have in a particular view. Cutting your natural sides does not remove hair from an untouched piece. It changes the surrounding reference. Length, direction and visible scalp can therefore make yesterday's match look different without proving that the system is too dense.
For a partial piece, start at the area where supplied hair meets your own hair. A toupee covers a defined area rather than the whole head, so the natural sides remain part of the finished hairstyle. Their new length matters as much as the top when judging whether the join looks continuous.
Decide what result you actually want. A prominent top with close sides may be an intentional haircut, not a failed blend. A soft side part needs a different transition. Judge the result against your chosen outline, rather than treating every visible difference between the top and sides as something that must disappear.
Make a before-and-after pair that tells you something
Take the first set immediately before the natural-side cut, when the hair and piece are dry and styled as you normally wear them. Keep the piece itself out of the haircut for this comparison. If removal is required for your usual wearing arrangement, photograph it after it has been correctly replaced in the same position; do not change attachment simply for the test.
Choose a plain background and soft, steady light. Nikon explains that a bright background can cause the camera to underexpose the subject, while direct flash can create harsh shadows. Those effects can make a dark top and light sides seem more different. The matched setup below is a practical comparison method, not a measurement of hair density.1
| Keep constant | Simple way to do it | Why it helps |
|---|---|---|
| Camera and distance | Use the same phone lens and marked standing positions | Keeps the head similarly sized in both pictures |
| Light and background | Keep the same lamp position and plain wall | Reduces misleading changes in darkness and shadow |
| Combing and parting | Copy the same direction and amount of lift | Avoids comparing a flat top with a raised top |
| Dryness and finish | Photograph dry hair with the same product routine | Keeps wet clumping or added shine out of the comparison |
| Piece placement and pose | Match the front position and head angle | Makes the transition visible in comparable views |
Capture a straight front view, both side profiles, both three-quarter views and the back. Keep the phone around head height rather than looking down from above. A helper can match the framing more easily than a handheld selfie. Avoid portrait blur, beauty filters and separate automatic enhancements that may soften the edge in only one set.
Repeat those views after the cut, before changing the top style. If the haircut ends with different product or blow-drying, first recreate your earlier finish using the piece's permitted care routine. Label the images clearly. Later styling experiments should become a separate set, so you can distinguish the haircut's effect from the effect of restyling.
Read the join separately from the whole silhouette
Place corresponding photographs side by side at the same display size. Look first at the complete head, then at the top-to-side junction. Excessive zoom can turn every individual strand into a distraction. A result that feels coherent at normal conversation distance deserves a different response from an obvious line visible across ordinary side views.
Edge contrast: is there a sudden step?
Edge contrast is the visible change where one area meets another. Look for a dark band over a lighter side, a shelf of ends above the ear or a break in hair direction. Trace the transition backwards from the temple. Decide whether the problem follows the piece's edge, the barber's taper or a section combed away from its usual position.
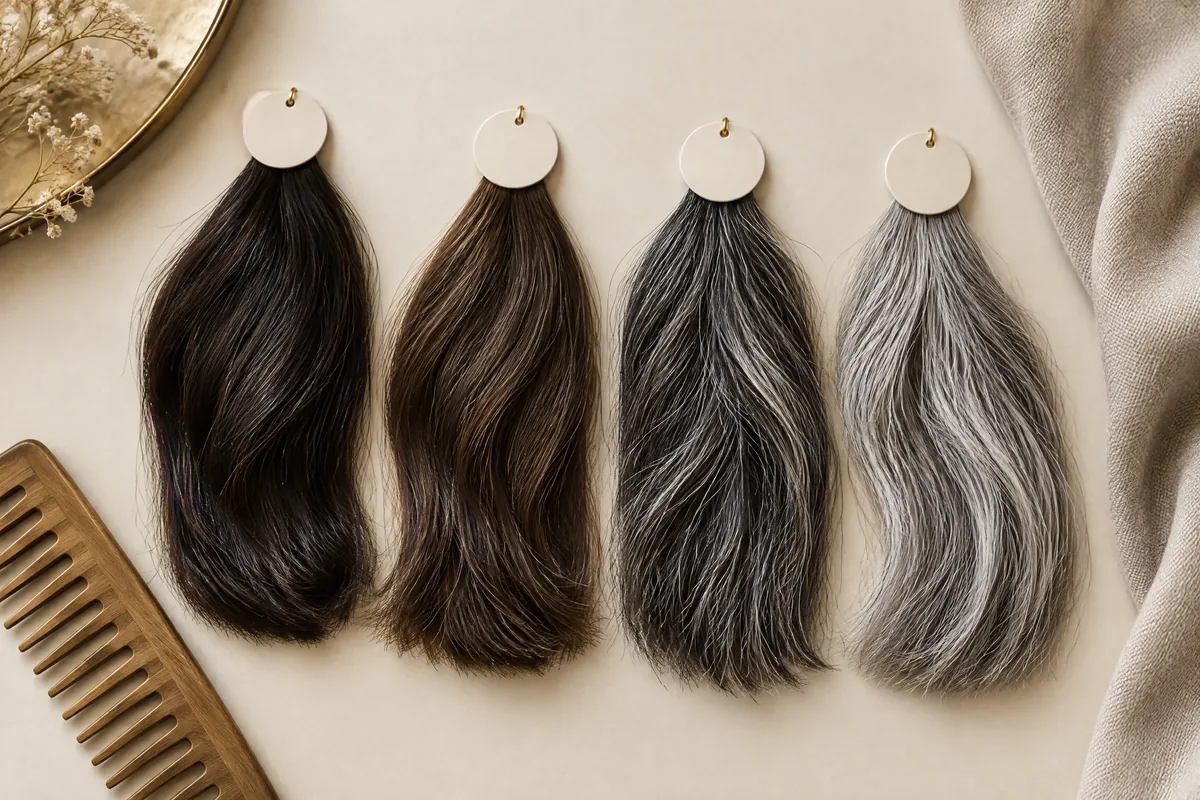
A sharper colour contrast is not automatically a wrong colour. The same dark natural hair can look lighter when cut short enough to expose more scalp. Grey hairs may also present differently across the new length. For colour comparisons, the American Cancer Society recommends natural light when matching wig swatches with existing hair; use that as a separate check after the matched-photo comparison.2
Side depth: did the supporting width disappear?
Side depth here means the visible width of hair above and behind the ear. It is a styling observation, not a count of strands. If that width has disappeared while the top outline remains identical, the haircut may have changed the proportions. The system can now appear higher or broader simply because there is less hair beside it.
Imagine a side part whose natural sides previously curved gently outwards. After a close taper, the top still falls in the same direction, but its outer ends overhang the narrower side. The first useful question is whether those ends need a different shape or whether the taper needs more length next time—not how much density to remove everywhere.
Match the correction to the visible problem
Write down the location and type of change before asking for alterations. “Too thick” leaves several different problems unresolved. “A dark shelf above the right ear in both side and three-quarter views” gives a stylist something specific to assess. Make one controlled change at a time and repeat the relevant photograph rather than combining thinning, a new part and extra product.
| What the pair shows | Sensible next step | Trade-off to recognise |
|---|---|---|
| Narrower sides, unchanged top outline | Try lower top lift or keep a fuller upper side next cut | A softer balance may reduce the dramatic top-heavy look |
| A shelf of long ends at the join | Ask a wig-experienced stylist about local reshaping | Cutting is permanent; shorter ends may give less overlap |
| More scalp visible only in freshly cut sides | Review taper height and allow natural sides to regain length | The preferred blend may need a different maintenance schedule |
| A sharp line that moves when combing changes | Restore direction before considering a cut | Some styles need more deliberate daily placement |
| Fullness remains excessive across the top | Discuss selective alteration after checking shape and fit | Removing hair may compromise coverage or another style |
Try a reversible adjustment before cutting the piece
Return the top to its usual parting and reduce unnecessary lift with gentle, permitted styling. Let the hair follow the intended direction rather than forcing it across the join. Do not use a hot tool merely to flatten the result: the American Cancer Society advises against hairdryers or curling irons unless the wig is heat resistant, and the item's own instructions should govern your routine.2
If a raised edge, shifted piece or uncomfortable position appears during the comparison, deal with fit and wearing arrangements before judging density. Do not press harder, overtighten or add an unfamiliar attachment product to hide the line. Hair removed to disguise a placement problem cannot be restored simply by correcting the position later.
Thinning can be appropriate, but it should answer an identified problem. The American Cancer Society describes stylist trimming and thinning as options if needed, not requirements for every wig. Ask what area would be altered and how it affects coverage, overlap and styling choices. Shortening a protruding perimeter and reducing fullness throughout the top are different requests.2
Three haircut situations that call for different decisions
Consider a close fade beneath a full-looking top. Before the cut, the sides carry enough width to make the outline rounded. Afterwards, a much lighter lower side makes the top stand out. If the upper transition remains clean and you like the stronger contrast, leave the piece alone. The new look may be exactly the haircut you requested.
Now consider a soft business side part intended to flow into the sides. A high taper removes the natural hair that used to meet the piece's ends, leaving a visible overhang. Lowering top lift may help the outline, but it cannot replace missing side length. Keeping a fuller upper side at future cuts may serve that style better than thinning the entire piece.
A third situation is a crown-focused piece with natural front and sides. The front photograph may look unchanged, while a rear three-quarter view shows a new step behind the ear. Work at that specific junction. A global reduction in top fullness could sacrifice crown coverage without improving the back transition that actually drew your attention.
These are illustrative styling situations, not customer results. In each, the choice depends on the desired outline and the location of the change. A pronounced contrast, a missing bridge of natural hair and excessive top fullness are not interchangeable problems. Show the relevant views to the stylist rather than asking for the same correction in all three.
Does full coverage avoid the side-trim problem?
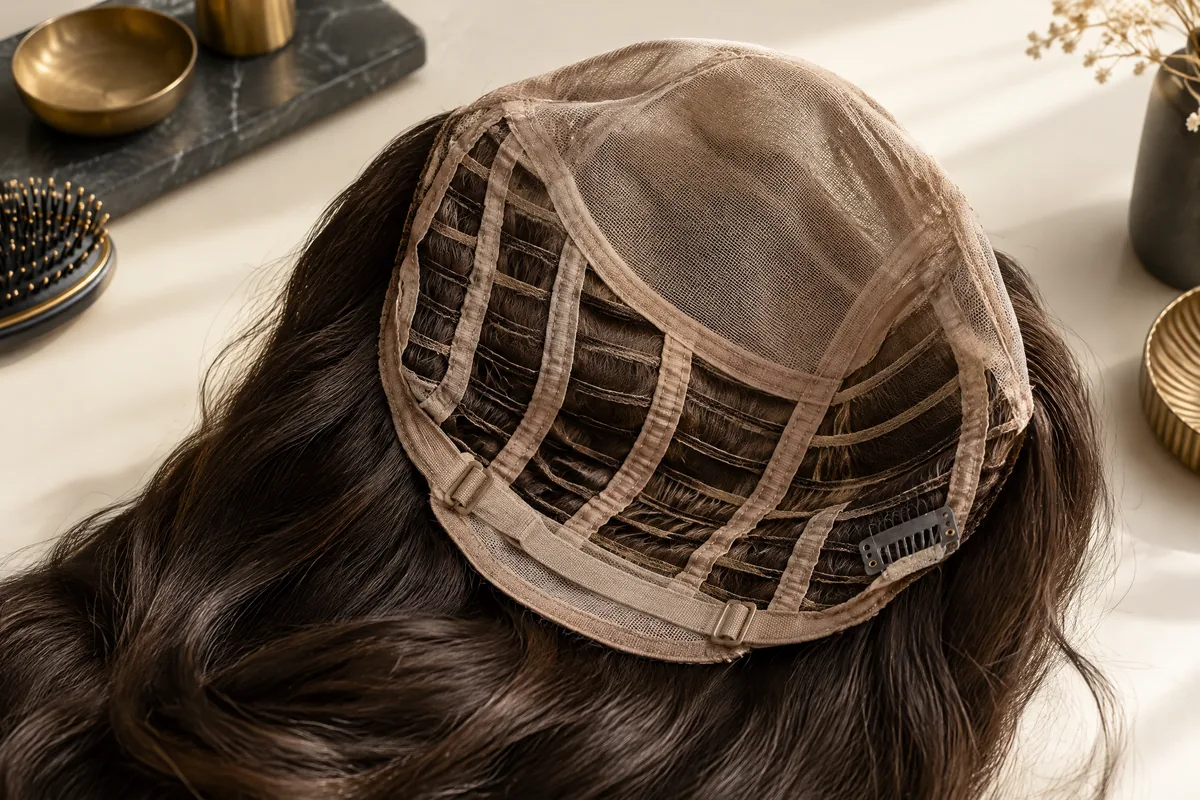
A full wig supplies the visible side hair as well as the top, so it can reduce dependence on matching a top piece to newly trimmed natural sides. OWNSTRAND's men's wigs guide focuses on full coverage. Compare the complete front, side and back outline, rather than expecting a similar top photograph to mean the same wearing experience.
Full coverage does not make your natural haircut irrelevant. Hair beneath a cap contributes to how it sits, and any natural hair visible at the temples or nape still affects the finish. After a substantial trim, check the cap's position and fit using its own instructions. Do not infer that a different density is needed if the main change is how the cap sits.
Partial coverage keeps your own side haircut in the visible result. That may appeal if you want to preserve natural side movement or a familiar barbered outline, but the blend needs reassessment as the sides are cut and grow. Full coverage provides a more unified supplied-hair outline, while asking you to accept and care for a whole-head piece. Neither is automatically more natural.
Choose coverage for the look and routine you want to maintain. Switching to a full wig solely to resolve one overhang may be disproportionate; repeatedly fighting a side match you dislike may also be frustrating. Compare an actual full-coverage option with the partial arrangement, including fit, fibre and upkeep, before deciding whether the broader change is worthwhile.
Plan the blend across the haircut cycle
Do not judge the style only on haircut day. Save a later photograph when your sides have reached a length you like, using the same setup where possible. The pair can show whether the fresh-cut contrast settles into your preferred balance. That is more useful for your next barber visit than remembering that the top briefly looked too full.
Keep a short haircut note with the photographs, especially if you see different barbers. A picture shows the finished shape, but it may not show which section was deliberately left longer. Record those choices while the cut is still fresh:
- Where the taper began and how much upper-side length remained.
- Whether the top was untouched or professionally reshaped.
- The parting, finish and view that showed the problem best.
- Which stage of side growth gave the outline you preferred.
Ask the barber to preserve the area that makes the transition work, not merely repeat “short back and sides”. You might want a clean lower side while keeping more hair above the ear, or a deliberately disconnected outline. Agree on the shape rather than a clipper number alone; the same nominal length need not create the same visible balance everywhere.
Bring photographs that lead to a useful discussion
For an OWNSTRAND hair system enquiry, share the matched side views alongside the hairstyle you want. Its guide treats coverage, fibre, base and wearing arrangements as details of the specific piece. Ask whether the proposed option can support your intended side cut and what fitting or styling arrangements apply to that enquiry.
OWNSTRAND's handmade human-hair enquiries can include private sample viewing and head measurement, with relevant custom arrangements discussed directly. Its only confirmed shop is Unit 2103, 利寶時中心, 50 Hoi Yuen Road, Kwun Tong. Arrange the visit beforehand and ask what can be viewed; a district guide or catalogue photograph is not confirmation of another branch or available stock.
Finish the discussion with a concrete decision: keep the stronger contrast, retain more natural side length next cut, reshape a local overhang, or consider a different coverage outline. If alteration is proposed, ask the stylist to identify the section before cutting. The aim is a hairstyle you can reproduce through its haircut cycle, not simply the thinnest possible piece.
Questions & answers
Can a selfie measure my system's density percentage?
No. A photograph records appearance under particular conditions, not the amount of hair attached to a base. Use matched pictures to locate a visual mismatch. Ask the maker how any quoted density is specified instead of estimating a percentage from scalp visibility or a dark patch.
Should I buy a second, lighter piece just for haircut week?
Not as the first response. First establish whether you like the fresh-cut contrast and whether a different upper-side shape would work. A second piece introduces another fit, colour and care routine; consider it only if you genuinely want two distinct looks and can assess both options.
What if only one side looks heavier after the trim?
Compare mirrored side views in the same light and check the parting direction. Then ask the stylist to examine the haircut and transition on each side. Do not remove equal amounts from both sides automatically: a side part and uneven natural growth can need different local shaping.
Is thinning the same as changing the system's base size?
No. Thinning changes the supplied hair, while base size defines the piece's footprint. A coverage or edge-position problem may remain after thinning. Base alterations require product-specific advice; do not cut the base yourself as a shortcut to blending with newly shortened sides.
Can I send cropped photos if I want to keep my face private?
Ask the recipient what views they need. A crop that retains the temple, ear and top-to-side junction can show a local issue without a full face, but a tight detail alone may hide the overall proportions. Keep an uncropped set privately for your own comparison.
Put the next step into practice
Build a clearer understanding of hair shape and everyday styling through learning at Canvas. Hair styling courses in Hong Kong。
Explore more practical styling and selection notes. Canvas hair and beauty journal。
Tell the team which hair styling techniques you would like to learn. Contact Canvas Academy。
Sources & further reading
- Take Better Portraits — Nikon
Explains how background brightness, framing and direct or softened light can change a portrait's appearance, helping you avoid misleading before-and-after comparisons.
- Wigs for Hair Loss — American Cancer Society
Offers practical wig-selection and styling guidance, including natural-light colour matching, conditional stylist trimming and thinning, and heat-resistance precautions.