Start with the places where hair meets your day
A photograph can make short hair look effortless because the model is standing still, with the sides arranged and the collar out of the way. Your cut will also meet glasses, shirt collars and the hand that pushes hair away while you work. Before choosing a name, identify which of those everyday contacts you want to remove and which coverage you would miss.
Use four visible landmarks: the front of the ear, the cheek, the nape and the top of your usual collar. Stand upright rather than lifting your chin for a flattering angle. Describe the desired dry end position at each landmark. A shorter back with longer sides is a different choice from reducing every section together, even if both references look equally short from the front.
Separate a preference from a practical requirement. You may enjoy showing your ears but still need the front clear during exercise. You may like an open neck yet dislike a sharp nape edge. These details help you choose the actual outline, rather than discovering afterwards that the feature you liked in a photo was only an ear tuck.
- Keep: the coverage or function you would genuinely miss.
- Change: the area that feels heavy, distracting or inconvenient.
- Accept: a trade-off, such as using a small clip instead of a ponytail.
Rehearse ear coverage without pretending to create the cut
Start with dry hair in your ordinary parting. Loosely fold or secure the longer lengths underneath, keeping pins away from the skin. Compare both ears covered, one side tucked and both sides tucked. Use a mirror and a side photograph. This previews how much face and neck you enjoy seeing; it does not reproduce the weight or movement of a new haircut.
Avoid pulling the sides tightly back, which creates an artificially close outline. If your hair is too long or dense to fold comfortably, hold the ends below the intended line for a brief mirror comparison instead. Release the hair between versions. The useful result is a preference about exposure, not a convincing fake crop that depends on hidden tension.
Check the two sides independently. With your usual parting, one side may have a fuller section to tuck. Notice whether you keep reaching for the other side or prefer it loose near the cheek. Do not treat a successful tuck of your current long hair as proof that future short layers will stay behind the ear.
| Ear-area choice | What the rehearsal reveals | What still needs deciding |
|---|---|---|
| Ear fully visible | Whether you enjoy the open side profile | How close the side and ear-front piece should be |
| Coverage at rest, tuck when needed | Whether you like having two visible versions | Whether the shortest side pieces can reach behind the ear |
| Soft piece in front of the ear | How that detail frames your cheek | Its dry length and connection to the front |
Test the untucked version as carefully as the tucked one
Keep a photograph of the version you like with the side released. A reference that only looks right when tucked may suggest retaining side length rather than cropping close to the ear. If you want full ear coverage at rest, make that a length boundary. If you only want an occasional tuck, explain how often you expect to use it.
Put your spectacles back into the picture
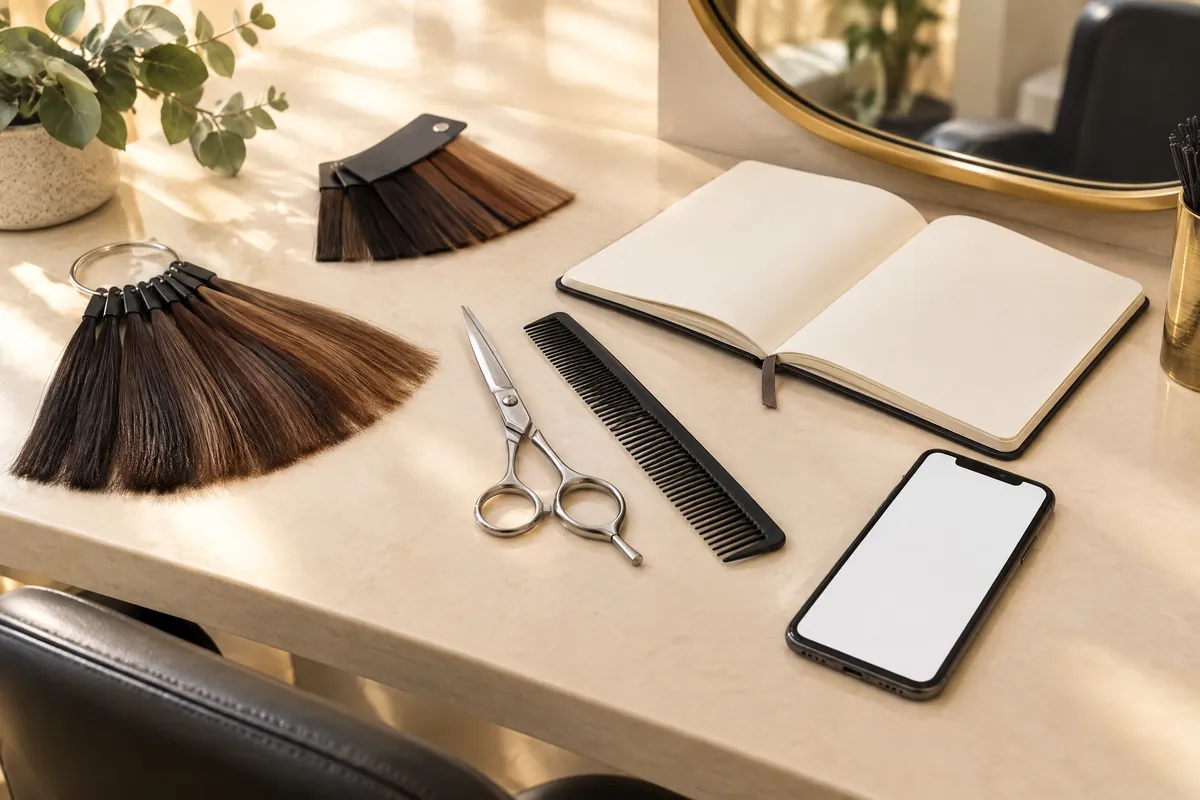
Wear the frames you use for most of the day, not a lighter pair chosen for the photograph. Look straight ahead, then turn your head and look down as you would when reading your phone. Watch where the side hair rests against the frame arms. The relevant question is whether you enjoy that contact, not whether all hair must be cleared away.
Take the glasses off and put them on again. See which pieces lift or fall forward. A side section that looks neat while still may need repositioning whenever you remove your frames. You can choose a closer side, retain enough length to tuck, or accept a loose piece. Each is reasonable; repeatedly trapping hair under the arms is a different daily experience.
Keep fringe clearance separate from ear clearance
Check the front while wearing your normal expression and looking down. Identify whether you dislike hair touching the lenses, covering the eyebrows or moving near your eyes. These are separate boundaries. A longer sweeping front might remain welcome with close sides, while a short fringe might feel too exposed despite generous ear coverage. Changing both at once is not compulsory.
Write one usable sentence, such as: “I like my ears visible, but I want a longer front that sits away from my lenses.” That gives a clearer starting point than “short, but not too short”. Keep the rehearsal pictures with your glasses on, even if the version without them looks more polished.
Check the collar you actually wear
Try a work shirt and the jacket or high collar you wear on cooler days. Let your hair fall naturally, then turn your head and look down. Note where the existing ends touch, lift or catch. A shoulder-level cut and a short nape interact with clothing differently. Clearing a collar can be appealing, but it also exposes more neck.
The rehearsal cannot tell you exactly how newly shortened ends will bend. Instead, use it to identify the contact you want to change. If the back bothers you while the front feels right, discuss the nape separately. Removing side length as well may sacrifice coverage that had nothing to do with the original annoyance.
A useful collar note names the contact: “I want the back clear of this shirt collar, while keeping some softness at the sides.”
Look at the back with a second mirror or a photograph taken at head height. Compare a soft neckline with a more sharply outlined one in your references. If your nape naturally lifts or changes direction, show it without smoothing it down. That detail belongs in the design conversation, not hidden beneath a styled reference.
Repeat the silhouette check next morning
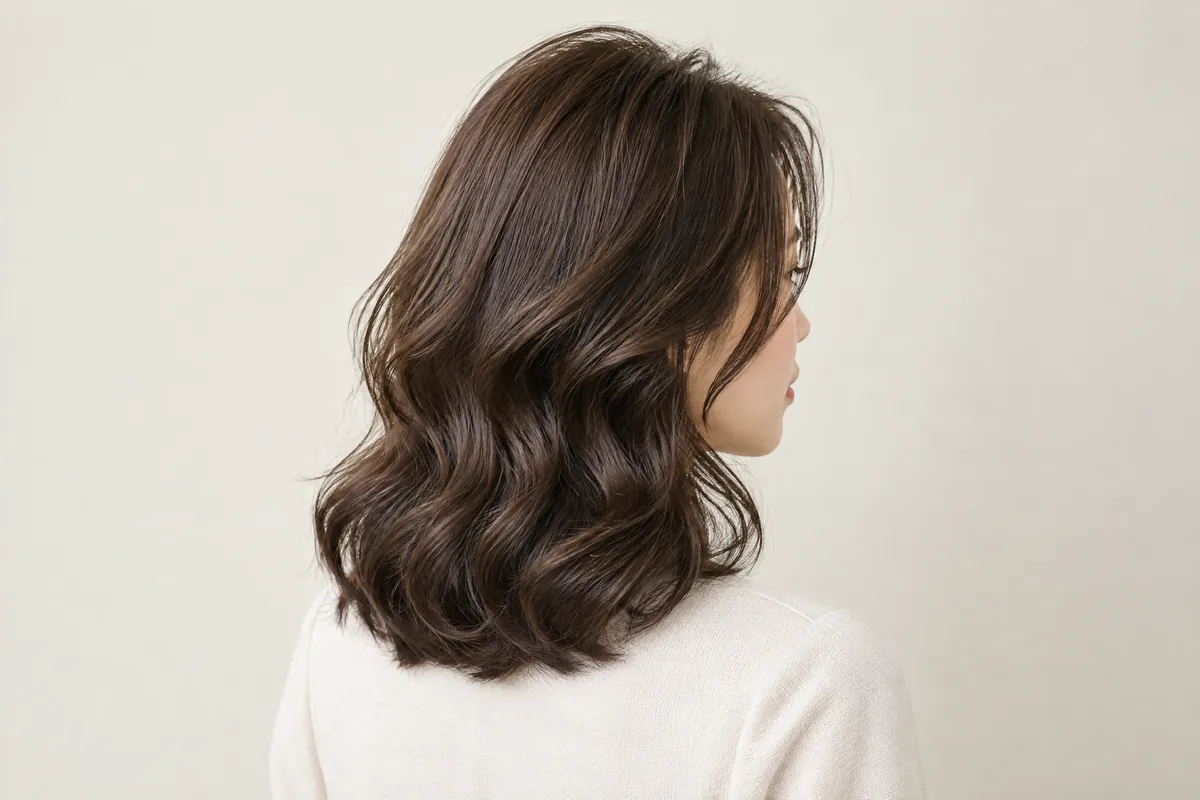
Leave the securing pins out overnight. In the morning, first look at your hair as it is, before brushing or adding product. Photograph the crown and front so you can show any separation or flattening you normally wake up with. Then repeat the loose folding exercise with your glasses and collar. You are checking your response to the outline on an ordinary morning.
Next, follow your usual wash or refresh routine. The American Academy of Dermatology recommends gentle moisture absorption rather than rough towel rubbing, and detangling from the ends upwards. It distinguishes between combing thick curly hair with conditioner still in and letting straight hair dry a little before combing. Keep the rehearsal consistent with gentle handling rather than forcing wet hair into position.1
Count the steps you are willing to repeat, not the steps needed to make the reference perfect. Perhaps you will guide the front with your fingers but will not use a round brush. Excessive heat can damage hair; the AAD advises limiting heat styling and using low or medium settings with heat protection.1
- Record the unstylised crown and front.
- Repeat the ear, frames and collar silhouette check.
- Write down the drying or refresh steps you will actually do.
- Separate an optional polished finish from your everyday shape.
One substantial cut or a staged reduction?
One cut makes sense when your decision concerns a silhouette you already want: open ears, a clear nape or an unmistakably shorter outline. It avoids an intermediate shape you do not enjoy. The trade-off is that you learn about the new lengths after the change, and cannot put removed length back during the appointment. Preserve any front or top area you remain unsure about.
A staged reduction is useful when the intermediate cut answers a real question. Moving first to a longer bob can help you discover how you feel without your familiar long lengths and how the ends behave near clothing. It is less useful if you dislike that stage or expect it to predict a close crop: longer sections retain weight that a much shorter cut will not.
For the intermediate option, Vit So's bob haircut guide distinguishes the end position, continuous lower edge and shorter internal sections. Compare those features before choosing a temporary shape. Retaining a bob-like outline may be more informative than adding short crown layers immediately, especially when your unanswered question is simply how much overall length you enjoy.
| Route | Best reason to choose it | Main trade-off |
|---|---|---|
| One substantial cut | You welcome the proposed exposure and have clear retained boundaries | Less chance to learn at an intermediate length |
| Two wearable stages | A first shape answers a specific comfort or routine question | Separate visits and a stage that needs its own upkeep |
| Keep length, change one zone | The annoyance is local, such as the nape or front | The overall silhouette remains closer to your current hair |
Hypothetical example: someone likes their ears exposed but relies on a low ponytail for work. A first, longer stage could test an alternative way to contain the front. Someone who already dislikes shoulder contact may prefer to discuss a collar-clearing cut directly, rather than choosing a shoulder-length stage solely because it sounds cautious. Neither route is automatically braver or better.
Plan a grow-out route before shortening the useful sections
If trying short hair is part of a longer experiment, name the next shape you might want. A future fuller bob needs attention to the top and side lengths that will join its outer line. Do not shorten those areas heavily just because the nape is going close. You can prefer a short back now while still protecting sections that matter later.
Vit So's pixie cut comparison treats the ears, crown, front and neckline as distinct choices, including fuller bixie outlines. Use that distinction to discuss what should stay. A longer front is not automatically tuckable, and a fuller-looking side can contain shorter layers; ask about the actual lengths rather than relying on the name.
Make grow-out decisions by area, not by calendar alone
Cleveland Clinic describes average hair growth as four to six inches per year and notes that hair grows in cycles.2 An average cannot promise the date your front will reach a particular shape. Plan around the lengths and proportions you have, instead of choosing a short cut because you expect a quick, precisely timed return to long hair.
| What bothers you during grow-out | Decision to discuss | Length to protect |
|---|---|---|
| Back feels heavy before sides catch up | Adjust the nape locally rather than recutting the whole outline | Side and top sections needed for the next shape |
| Front falls towards the frames | Compare temporary placement with a targeted front adjustment | Any front length needed for future tucking |
| Outline is softer, but still comfortable | Let the shape lengthen without restoring every crisp edge | The developing perimeter |
| You prefer the original short shape | Discuss maintenance rather than continuing an unwanted experiment | Only the lengths that belong to that short design |
Take a small decision pack to the appointment
Bring your glasses, a relevant collar and a few labelled pictures. Include your current dry hair from the front, side and back, not only the secured rehearsal. Mark the feature you like in each reference. Also include one unwanted detail, such as very short ear-front pieces. That prevents an attractive overall image from obscuring an important boundary.
For an enquiry, Vit So's women's haircut service covers the discussion of length, shape and daily styling around a wash, cut and blow-dry. Describe the intended work rather than assuming a bob or crop is a separate package. Colour, perming or straightening are separate requests; mention previous dye, bleach, perm or straightening because the condition of retained hair affects those decisions.
- State the shortest acceptable dry front and side lengths.
- Show the ear coverage and nape edge you prefer.
- Name the everyday styling step you will perform.
- Identify whether you want to maintain short hair or leave a route towards a fuller outline.
- Ask for the agreed work, applicable charge and appointment arrangements.
Finish with one priority rather than several equally urgent demands. “Keep the sides tuckable; I am flexible about the back” gives the design a useful order. The best outcome of the rehearsal is not certainty about every strand. It is knowing which change you genuinely want, which compromise you can live with and which useful lengths should remain.
Questions & answers
Can a hairstyle simulation app replace the rehearsal?
An app can help compare broad outlines, but it cannot show how hair feels against frames or clothing. Treat the image as a visual prompt, especially if it changes your face or hair density. Keep the everyday contact checks alongside it.
Should I bring a celebrity photograph if my hair texture is different?
Yes, if you can identify the feature you want, such as open ears or a longer front. Pair it with a photograph of your own dry texture. Ask whether the attraction is the cut's outline or a finish created by curling, smoothing or product.
Is it sensible to make the change just before an important event?
A major change may require learning a different routine. Leave room in your plans to practise styling rather than relying on one appointment finish. If familiar presentation matters most for the event, keeping the current outline until afterwards is a reasonable choice.
What should I do if friends disagree about whether short hair suits me?
Ask which visible feature they are reacting to, then separate their taste from your needs. Someone may prefer covered ears while you enjoy an open profile. Your comfort, routine and preferred silhouette matter more than reaching a unanimous vote on a style photograph.
Can I change my mind about the shortest version during the consultation?
Yes. State a revised length boundary before cutting starts and discuss a different scope. Reaching a shorter outline in steps during one visit is not the same as living with an intermediate cut between appointments. Decide which kind of learning you need before committing.
Put the next step into practice
Develop your understanding of shape, cutting and styling with structured learning at Canvas. Hair styling courses in Hong Kong。
Explore practical guides for a clearer plan before your next style change. Canvas hair and beauty journal。
Tell the team which cutting or styling skills you would like to learn. Contact Canvas Academy。
Sources & further reading
- Tips for healthy hair — American Academy of Dermatology
Practical guidance on gentle towel drying, detangling according to hair type and limiting heat helps you judge whether a proposed short-hair routine is sustainable.
- How To Make Your Hair Grow Faster — Cleveland Clinic
Explains average yearly hair growth and growth cycles, providing context for a grow-out plan without promising an exact date for a return to longer hair.