Map the three lengths that control your ponytail
A cut can reach the shoulders at the back yet still fail a ponytail test. The longest edge, the shortest internal layers and the front pieces are separate decisions. During a grow-out, the useful question is not simply whether the hair looks longer. It is which sections have gained enough reach for the way you actually wear it.
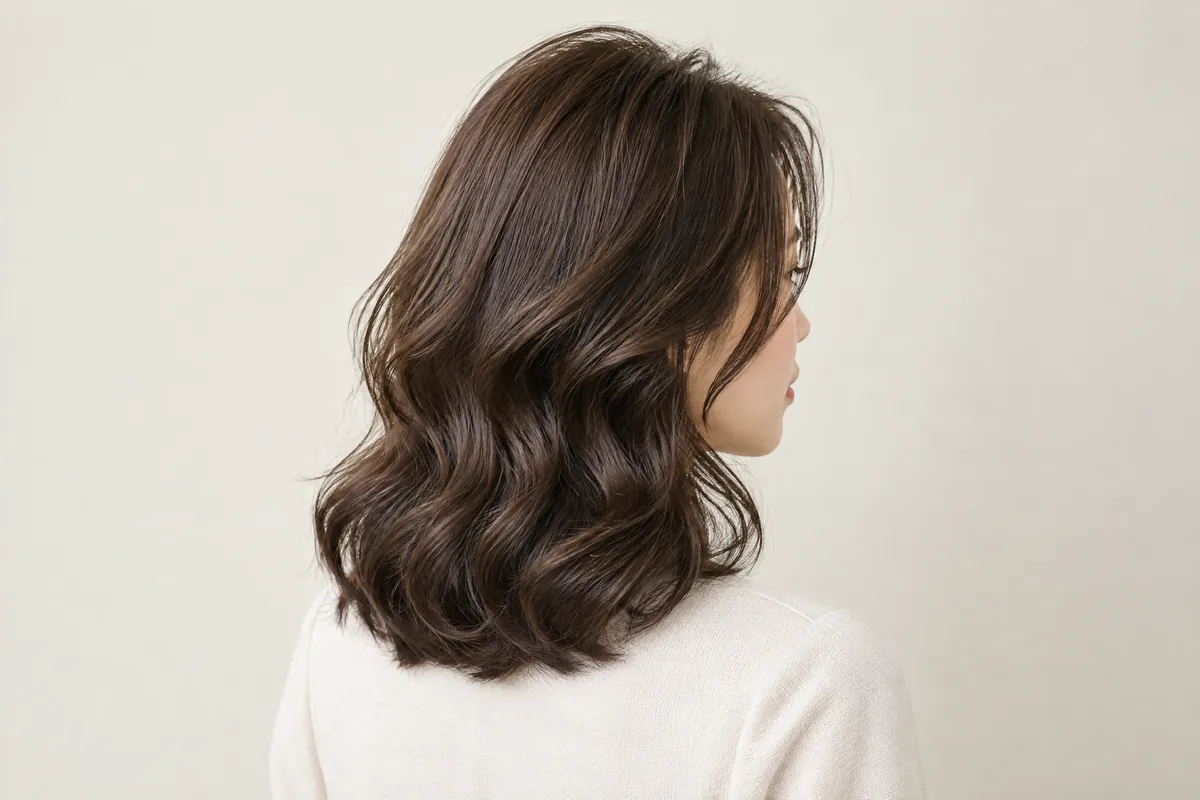
Start with dry hair in your usual parting. Look at the lowest outline from behind, then bring the sides forward. Find the shorter pieces above that outline and beside the face. Do not stretch waves straight to judge the everyday length. A salon cape can hide your shoulder line, so an ordinary top helps make the landing points easier to see.
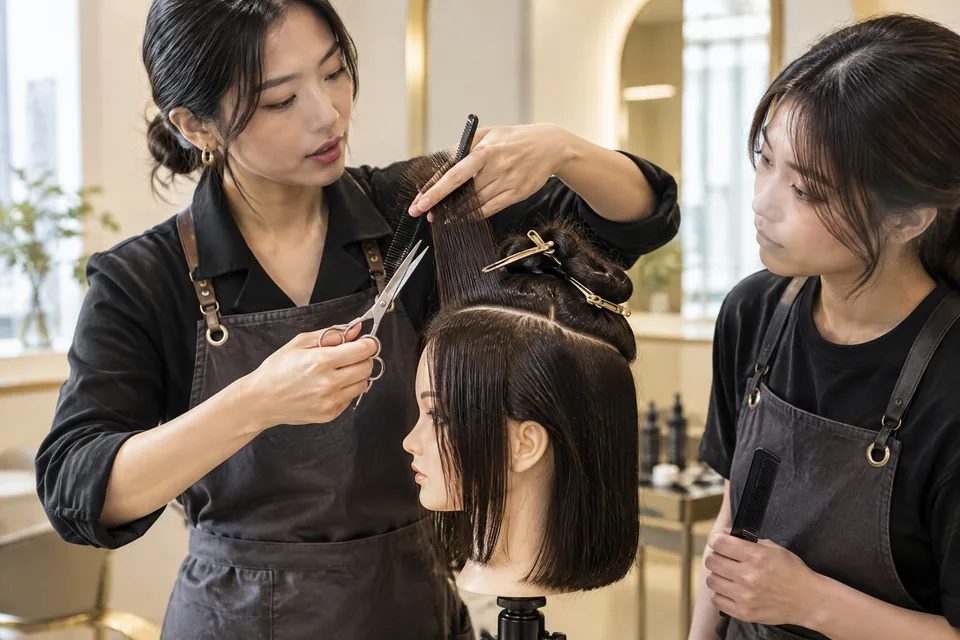
Vit So's layered haircut guide separates retained back length from shorter pieces within the shape. That distinction matters when growing out: keeping a long perimeter does not keep every strand long. Before adding movement, decide whether the shortest layer has reached a useful length or is still the section you are waiting for.
| Length to inspect | What it tells you | What to protect during growth |
|---|---|---|
| Longest perimeter | Where the visible back and side edge finishes | Enough lower length for your chosen tie position |
| Shortest internal layer | Which upper pieces can still escape | Layers that are gradually becoming easier to gather |
| Front and ear-side pieces | Whether the face can stay clear | The specific sections you need inside the tie |
Run a three-zone test with your own hair tie
Use the accessory you normally wear, rather than judging hair gathered tightly in someone else's hand. Make your ordinary ponytail yourself. Then check the front and ear-side pieces, the nape, and the shortest layers. Notice what stays inside the tie and what comes out when you turn your head or look down. This is a practical check, not a strength test.
Repeat at the position you use for exercise. Moving the tie changes which sections have the furthest to travel. A higher ponytail may gather the upper hair while leaving short nape pieces behind. A low tie may hold the nape well but lose the front sections. Neither position proves that the other will work after a trim.
Keep the tension comfortable throughout. The American Academy of Dermatology recommends loosely pulled-back hair, covered hair bands and avoiding tugging. More pulling is not a sensible way to make a barely reaching section count as usable length. If your trial needs a slick, tight finish to stay together, record that section as still needing room to grow.1
Use three plain labels in your notes:
- Inside: the section gathers comfortably and stays there during ordinary movement.
- Accessory needed: it works with a pin or headband you are happy to use.
- Keep growing: it falls out and you do not want to rely on extra accessories.
Do not repeatedly tug escaping pieces back into the elastic during the check. Note their location instead. Your cutting request can then be precise: retain the ear-side length, leave the nape alone, or avoid resetting the upper layers. That tells the stylist more than asking for a ponytail-friendly cut with no explanation of what currently fails.
Separate gym requirements from wearing it loose
For an office day, a few loose front pieces may be an attractive detail. During a sweaty class, the same pieces may keep touching your face. Decide whether you need a completely clear front, a clear neck, or simply less hair moving around. These are different functions, and not every tied arrangement satisfies all of them.
A half-up style can control the top without gathering the lower hair. It is useful if the front is the problem, but it does not clear the neck. Pins or a comfortable headband can bridge a transition if they fit the activity. Check any class or equipment rules first; an arrangement that looks secure in a mirror may be unsuitable for that setting.
Vit So's discussion of medium length haircuts for women compares shoulder and collarbone placement with actual tying needs. Use those body points to explain your destination, then add the function: for example, a lower edge with ear-side pieces retained for a low gym tie. The length label alone leaves that important second part unanswered.
| Wearing situation | Main priority | Reasonable compromise to consider |
|---|---|---|
| Loose hair at work | An outline you like with normal drying | Keep the edge longer while accepting some shoulder-level movement |
| Desk work with hair back | Comfortable control around the face | A low tie with selected loose pieces, if they do not bother you |
| Active gym session | Hair secured for your activity | Retain essential front and nape lengths; use suitable accessories temporarily |
| Half-up days | Upper hair away without a full tie | Accept that the lower lengths remain on the neck and shoulders |
Hypothetical example: someone whose front pieces fall from a low ponytail but whose nape slips from a high one has two separate growth priorities. Shortening the front for a fresh face frame would work against the low tie. Trimming the nape into a crisp short line would work against the high tie. A quieter tidy-up may therefore be the better temporary choice.
Let the shoulder stage look different from the final cut
When ends meet the shoulders or a shirt collar, notice whether their direction changes. Compare hair worn forward with hair behind the shoulders. Then remove a high collar from the comparison. If the flick appears mainly against clothing, repeatedly shortening internal layers may not address the detail that bothers you. The contact point and the layering pattern need different decisions.
A longer bob can be a useful intermediate outline, but it is not a fixed ponytail length. Vit So's lob haircut explanation distinguishes the longer perimeter from the shortest pieces and back shape. If you are leaving a short or graduated nape behind, the front may already look long while the rear still needs time to catch up.
You have three workable choices: retain length and tolerate some turned ends, use an occasional directed drying step, or shorten the edge away from the shoulders. The third choice may give a cleaner compact outline, but it spends length you were growing for tying. Make that exchange deliberately rather than treating every outward bend as an error to cut away.
A useful temporary priority: keep the sections that make the ponytail possible, even if the loose silhouette is less sharply defined than your final goal.
Take a reference showing the longer destination and one showing an intermediate shape you can live with. Identify which features are optional. You might want the destination's full edge without its short face frame, or its relaxed movement without daily iron styling. This makes the awkward stage a planned compromise rather than a failed version of the finished cut.
Ask for a trim by area, not one amount everywhere
A grow-out trim can tidy an edge, remove selected damaged ends or change the shape. These are not interchangeable requests. If you say only “a little off”, the discussion still lacks which pieces must remain. Ask to see the proposed shortening at the perimeter and separately at the front and upper layers before deciding.
Preserve progress where the hair only just reaches
If your ear-side pieces have recently begun staying in a tie, identify them as a keep-growing area. Selected ends elsewhere may be tidied while those pieces remain. Equally, a long rear edge might need some adjustment while the short nape is left untouched. Ask whether a local change will connect sensibly to the rest of the shape, rather than demanding an identical trim across every section.
Re-establishing short layers can make the loose shape feel lighter, but it also makes those pieces short again. If upper layers are your ponytail bottleneck, consider leaving them to grow and tidying only what needs attention. More layering is a design choice, not a compulsory part of refreshing a cut.
Spend length where the ends need attention
Length is not the only thing worth preserving. Show ends that repeatedly tangle or look visibly split, rather than treating every turned strand as damage. Cleveland Clinic explains that splits can extend along the hair fibre and that trimming helps prevent breakage. This supports addressing split ends, not cutting healthy length simply to meet a calendar date.3
Ask the stylist to show the affected section and the length that would be removed. If that conflicts with tying, decide between accepting a shorter ponytail arrangement and a more limited first change. A trim cannot create reach that is missing. Removing damaged ends and keeping a usable tie sometimes pull in different directions; seeing the trade-off makes consent much clearer.
Keep the routine gentle while older lengths grow
Tell the stylist about previous bleach, colour, perming or straightening, including treatment on the ends that now form your ponytail. A tidy-looking surface does not describe the whole history. If you are considering another chemical service as well as the trim, separate that request from the length plan. The condition of the existing hair affects what work can reasonably be proposed.
Repeated pulling from tight hairstyles can cause hair loss, and the British Association of Dermatologists notes an increased risk when tight styles are combined with chemicals such as relaxers. For this grow-out, the useful action is to keep enough length for comfortable gathering rather than forcing chemically treated sections into place. Persistent soreness or visible hairline loss calls for medical advice, not a tighter styling solution.2
Keep wash-day handling suited to your texture. The AAD advises letting straight hair dry somewhat before gentle wide-tooth combing, while textured hair or tight curls should be combed damp. It also recommends conditioner after shampoo and less frequent heat styling at the lowest heat setting. There is no need to brush every texture dry to prepare for a ponytail.1
Keep a simple transition kit:
- A covered hair tie that secures without needing extra pulling.
- Suitable pins or a comfortable headband, if your activity permits them.
- A wide-tooth comb for gentle detangling.
- A conditioner appropriate to your hair and normal wash routine.
Salon conditioning can be discussed for cosmetic feel and manageability, but it is not a substitute for missing length. Nor is a scalp-care service a hair-growth treatment. A grow-out haircut enquiry can stay focused on the cut; extra services should have their own purpose, scope and charge explained.
Bring a short brief and review the dry result
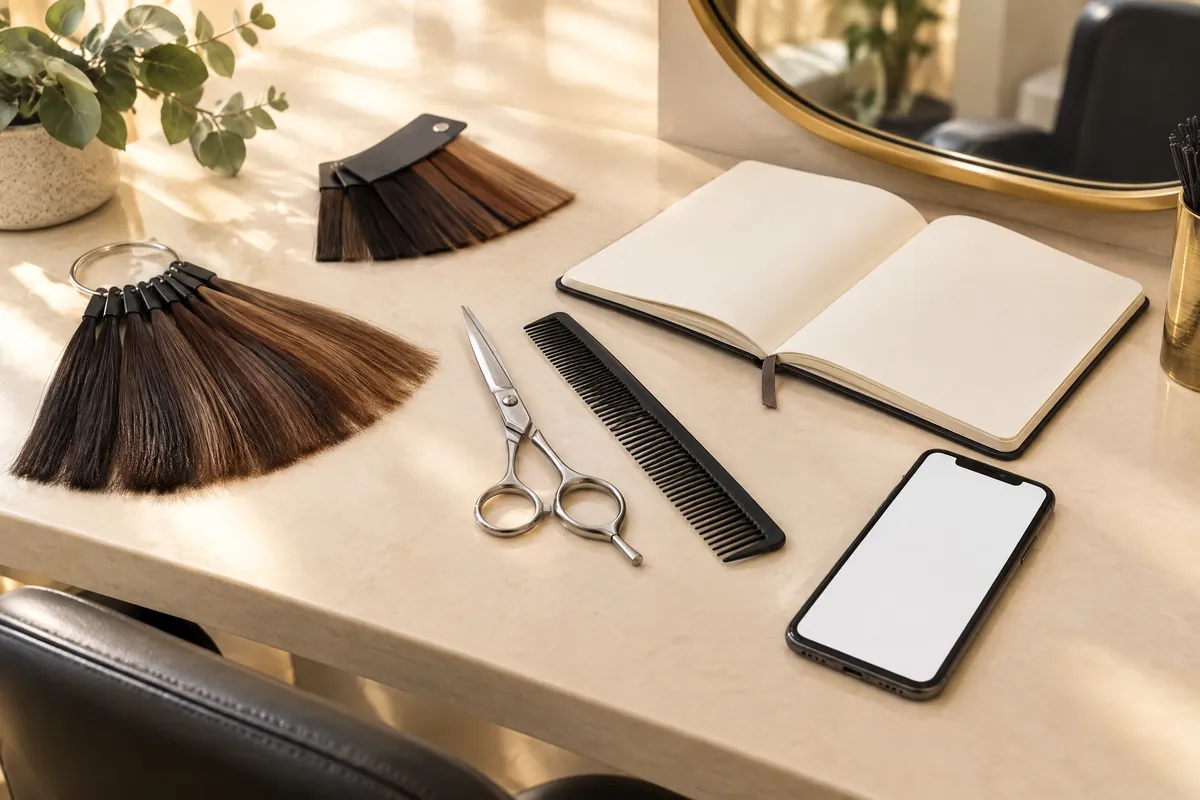
Before the visit, take ordinary dry-hair photos from the front, side and back. Add one picture of each tie position you need. Bring your usual accessory and an everyday top with a visible shoulder line. Choose a destination reference, but mark the front or layer details you do not want copied. Those small preparations make the conversation concrete.
Your brief can be simple: “I am growing beyond shoulder length. I need this low ponytail for exercise, and these ear-side pieces only just stay in. Please leave them growing, show me any proposed layer shortening, and tidy the edge only where needed.” Add your treatment history and the drying steps you actually use, then agree on the haircut scope.
Once dry, inspect the outline in your normal parting and remake the essential tie yourself. At home, compare like-for-like photos and note which section still escapes. Progress may mean fewer pins or more comfortable reach before the loose outline looks dramatically longer. Use that specific change to plan the next trim, rather than judging growth only by the longest end.
Questions & answers
Should I shorten the longest edge so all the layers catch up?
That creates a shorter, more even outline; it does not make the shorter sections gain reach sooner. Choose it if a compact shape matters more than your present ponytail. If tying is the priority, retain useful lower length and discuss local tidying instead.
Is a fringe trim compatible with growing the rest of my hair?
Yes, if you intend the fringe to remain separate and loose. If your goal is to gather it into the ponytail eventually, repeated fringe trims work against that goal. Make clear whether you are maintaining a fringe or growing those front pieces out.
Should I judge ponytail reach with my waves straightened?
Judge the finish you normally wear first. A stretched or straightened version can show a styling option, but it should not set the length boundary for naturally worn waves. Bring both references if you regularly alternate, and explain which routine must work without extra smoothing.
Can I use a large claw clip instead of keeping ponytail length?
Try the actual clip with your current hair. Clips and elastics gather sections differently, so success with one does not establish success with the other. Consider comfort and the activity too; a bulky clip is not necessarily a suitable substitute during exercise or equipment use.
How can I avoid a misleading grow-out progress photo?
Keep the parting, head position, drying method and clothing similar. Do not compare a straightened finish with an unstretched wavy one. Include the short sections and your usual tie, not just the back edge, so the comparison records practical changes as well as visible length.
Put the next step into practice
Develop your understanding of shape, cutting and styling with structured learning at Canvas. Hair styling courses in Hong Kong。
Explore practical guides for a clearer plan before your next style change. Canvas hair and beauty journal。
Tell the team which cutting or styling skills you would like to learn. Contact Canvas Academy。
Sources & further reading
- 10 hair care habits that can damage your hair — American Academy of Dermatology
Practical advice on loose tying, covered hair bands, gentle detangling, texture-specific damp combing, conditioner and reducing heat exposure while retaining longer hair.
- Traction alopecia — British Association of Dermatologists
Explains how repeated pulling from tight ponytails stresses the hairline and why combining tight styles with chemical straightening increases risk.
- How To Make Your Hair Grow Faster — Cleveland Clinic
The trimming section explains why split ends need attention and how preventing breakage can help preserve length during a grow-out.