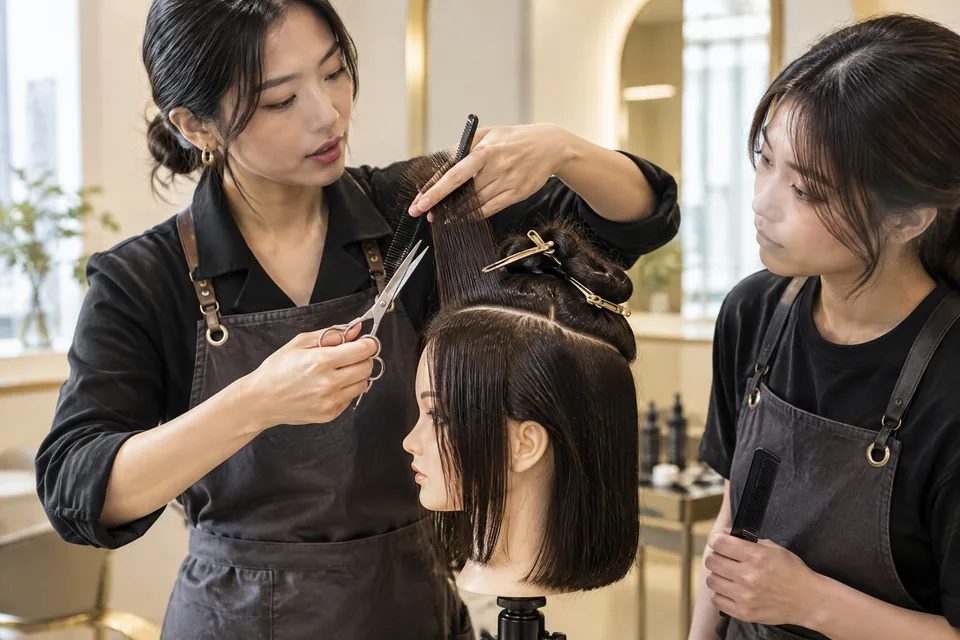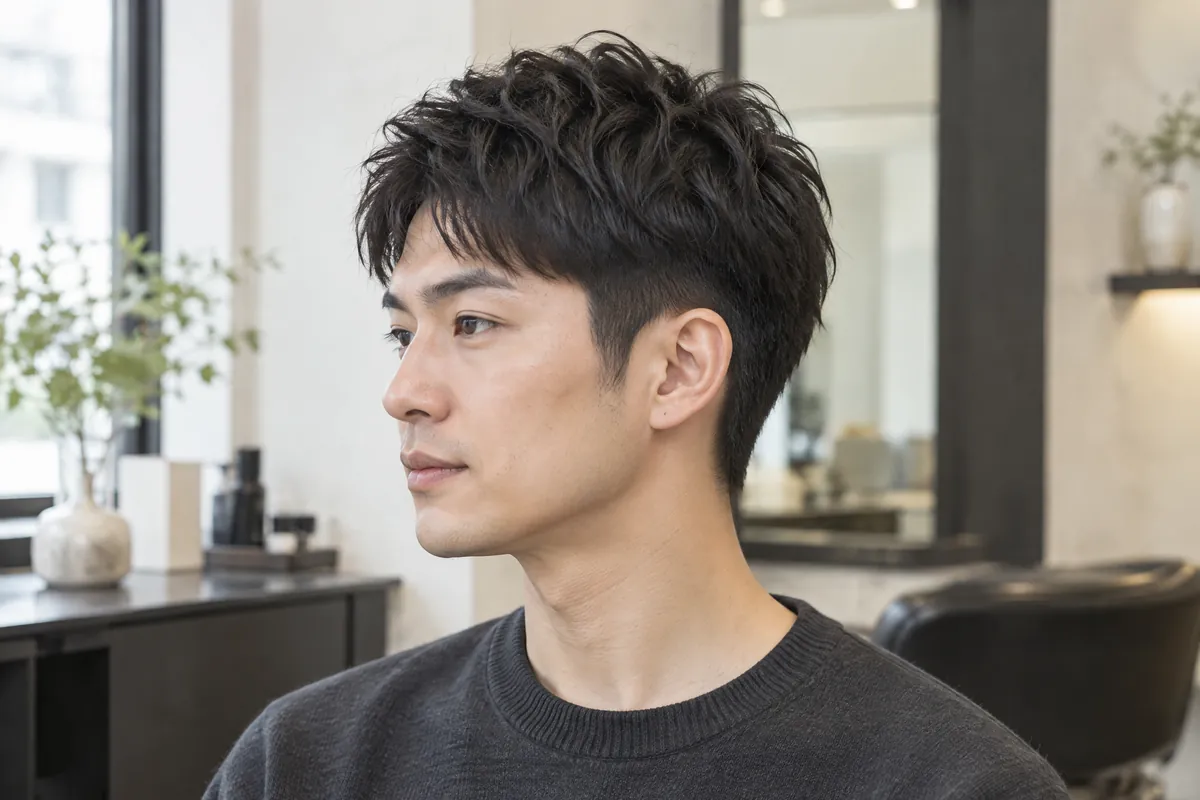
Find the gap you are trying to close
A disconnected cut can become awkward in several different places. Short side hairs may project above the ears. The longer top may form a heavy shelf. The fringe may now touch your glasses. Treating all three as a request for shorter hair risks removing the very length you want to keep. Start by identifying the location of the problem.
Look at dry hair in your normal parting, with no heavy styling product holding it flat. Take a front photograph, both profiles and a rear view. Then lift the longer upper section gently and look at the hair underneath. Compare the exposed side with the resting outline: is the unwanted width underneath, in the overhang, or in both?
Wahl distinguishes a connected undercut, where the shorter sections are blended into the rim of the head, from a disconnected version that leaves this transition unblended. The practical difference is a change in the join, not simply a different overall length. Growing towards a connection means deciding which lengths can contribute to that join. 1
If the original boundary is difficult to identify, Vit So's undercut haircut guide explains the contrast between a separate top and a softer join. Use that distinction to describe what should change: you might still enjoy the long top, but no longer want the abrupt step visible when it moves.
Do the same check at the back. A tidy neckline can sit below a disconnected upper back. Shortening the nape does not necessarily improve that higher boundary. Mark the area that feels too wide and the area that merely touches your collar. These are different adjustments, even when both appear in one rear photograph.
Choose a route, not an all-over tidy
There are three useful starting routes. Keeping some disconnection protects the long top while the sides gain length. Staged blending gradually changes the join. Shortening the top reduces the length contrast by giving something up above. None automatically resolves every issue; compare each with your preferred daily front and the amount of side width you can tolerate.
| Route | What stays | Main trade-off | Best question to ask |
|---|---|---|---|
| Keep temporary separation | Most top and upper-side length | The hidden step remains for now | Can the ear outline be tidied without resetting the whole side? |
| Blend in stages | Useful side growth and selected longer top lengths | The join may remain partly separate between adjustments | Which part can connect now, and which still needs length? |
| Shorten the top | Less top-to-side contrast | You may lose fringe coverage or backward movement | What front and crown length would have to go? |
You can also combine routes in different areas. For example, the side above one ear may have enough length for a softer join, while the upper back remains separate. This is not a reason to demand identical cutting everywhere. Ask for a coherent resting outline, and understand where temporary differences remain underneath it.
Avoid choosing solely from a photograph with the top slicked firmly down. That finish may conceal the boundary you dislike. Find a reference with relaxed hair and a useful profile. A good comparison shows how the upper edge rests above the ear, rather than only whether the fringe looks attractive from the front.
Blend in stages without restarting the sides
Staged blending starts with a distinction between an edge tidy and a side reset. An edge tidy addresses selected hairs around the ear, sideburn or neckline. A reset shortens a larger side panel again. If your goal is a connected shape, ask the stylist to identify the upper-side length to preserve before either area is cut.
The first adjustment may focus on the longer section's edge rather than on the whole top. A heavy corner can make the join look more abrupt. Selective reshaping may soften that corner while keeping useful front length. However, softening an overhang is not the same as creating a fully connected cut when the hair beneath remains much shorter.
Separate ear contact from side projection
Hair touching the ear and hair standing out above it need different discussions. Clearing the ear outline can improve comfort without taking the same amount from the upper side. For projecting hair, check its dry growth direction and where the width begins. Do not assume that clipping it close again is a step towards a longer side.
At the join, distinguish length removal from weight adjustment. Reducing some density may change how a thick edge rests, but indiscriminate thinning can remove coverage you wanted. For a finer top, that coverage may already be limited. Ask where hair would be removed and what the remaining edge should look like when it falls naturally.
Keep the plan specific enough to remember between visits:
- Preserve the upper-side area intended to join the top later.
- Identify the ear and neckline edges that need comfort or tidiness now.
- Name the top corner to soften, rather than asking to thin everything.
- Leave the fringe decision separate from the side adjustment.
When shortening the top is the better bargain
Shortening the top is worth considering when immediate proportion matters more than retaining your current length. It can bring the upper section closer to the sides and reduce an overhanging outline. The compromise is real: a shorter top may no longer reach the same parting position, cover the same boundary or move backwards as easily.
Ask to see the proposed dry front position before agreeing to an overall reduction. Keep the discussion concrete: will the ends sit above the brows, beside them or farther back? A request to make the top match the sides can imply a much larger change than a small corner adjustment. Decide whether that change still gives you a hairstyle you want.
Hypothetical example: someone likes their parted fringe but dislikes width above both ears. A staged route could retain the front and upper-side growth while reshaping selected overhang. If that person instead wants a much closer outline immediately, shortening the top becomes a reasonable alternative. The two requests prioritise different outcomes; they are not interchangeable versions of a tidy-up.
Keep three decisions separate: the front length you use, the upper-side hair you are growing, and the outline you want neat today.
Protect the front that makes the style useful
A long top is not one uniform length. The front may need more reach than the crown to open into a parting or sweep away from the forehead. Before the sides are adjusted, show the fringe in its everyday position. Then demonstrate your occasional alternative, such as pushing it back for exercise or wearing it forward on a relaxed day.
A fuller two-section shape can retain substantial upper coverage even as its join softens. Vit So's two block haircut guide separates top coverage, shorter sides and fringe direction. That is useful when you want to move away from a strong division without also abandoning the front arrangement you enjoy.
Try the fringe in both directions
For a parted front, check the opening at the roots and the resting position of the ends. For a forward fringe, check brow coverage and contact with your glasses. A fringe trimmed only for one direction may lose the length needed for the other. State which version is essential and which you would merely like to keep as an option.
Put your glasses on for the side check as well. The arms can lift hair that otherwise rests close to the head, or push longer pieces towards the ear. Show those contact points rather than describing the entire side as bulky. Comfort may require a local adjustment, not a shorter front or a higher short panel.
Make the in-between shape manageable at home
Start with the simplest finish you are willing to repeat. If you normally air-dry, assess the grow-out with that routine rather than a sharply lifted salon finish. If you use a dryer, ask for a demonstration of the side direction and front roots. The aim is to arrange the retained hair, not repeatedly force a temporary imitation of another texture.
The American Academy of Dermatology recommends gently absorbing moisture with a towel or T-shirt, limiting heat styling, and using low or medium heat with a heat-protection product. These steps help you handle the longer top gently. They do not make the short sides grow faster or guarantee that a particular outline will stay in place. 2
Conditioner placement matters too. The AAD advises conditioner after washing, concentrating it on the ends for fine or straight hair, and through the length for dry or curly hair. Adapt that to your hair type instead of treating the very short sides and longer lengths identically. Ask about your routine if the front feels coated or difficult to arrange. 2
During the transition, keep a few useful observations rather than chasing a fixed timetable:
- Does the side widen at the same spot after ordinary drying?
- Does the fringe still open or sweep in the direction you need?
- Is the discomfort caused by ear contact, glasses or the collar?
- Does the outline work with your usual amount of product?
Prepare a clear Sheung Wan cut enquiry
For a men's haircut sheung wan enquiry, Vit So lists men's wash, cut and blow dry at 252 Hollywood Road, Sheung Wan. Describe the grow-out goal as well as the immediate problem. Send possible dates for confirmation; a style discussion does not reserve a time or establish the scope of additional work.
Your current photographs are as important as the desired reference. Show the unstyled profile that reveals the join, and identify the length you refuse to lose. If you have previously coloured, bleached, permed or straightened your hair, mention what remains. Existing texture and the condition of treated lengths can affect what should be retained or removed.
| Send or bring | Detail to include | Why it helps |
|---|---|---|
| Current dry views | Front, both sides and back | Shows where the separation and unwanted width sit |
| One useful reference | Mark the join and fringe you like | Separates the desired shape from the model's styling |
| Retention priorities | Front length, crown fullness, upper-side growth | Makes the cost of shortening explicit |
| Routine and history | Glasses, drying habits, previous chemical work | Helps relate the cut to daily handling and existing hair |
A practical message could read: “I am growing the short sides into a softer join. I want to keep my parted front, but the area above my ears feels wide. I have attached dry side and back photos. Could we discuss which edges can be tidied and which lengths should stay? My preferred dates are…”
Keep added movement or side-flattening as a separate request. A haircut changes length and shape; a blow-dry arranges the finish. Neither implies that a perm or straightening treatment is included. A cut-only transition may be enough for your priorities, while chemical options need their own discussion of hair condition, scope and charge.
Judge progress by the dry join, not the calendar
Before leaving, look at the hair relaxed as well as styled. Check the front in its usual direction, both ear areas with your glasses on, and the upper back above the neckline. Ask which area still remains disconnected. Understanding that detail is more useful than assuming one appointment has turned every hidden section into a continuous join.
Keep one set of dry photographs for the next discussion, using similar angles. Look for a change in the resting edge and whether the preserved side length is contributing to the intended outline. If only the fringe has become inconvenient, say so. You can adjust that problem without automatically restarting the sides you have been growing.
Questions & answers
How long will it take to grow out the disconnection?
There is no useful universal deadline. The starting length gap, boundary height and amount of top length you keep all affect the transition. Ask what a workable intermediate shape would look like and which area still needs length, rather than planning around a promised number of appointments.
Will cutting the sides make them grow back faster?
No; shortening the visible hair is not a way to accelerate growth at the roots. It can tidy the outline, but cutting the whole panel close also removes length you were building towards a join. Distinguish a comfort adjustment around the ear from restarting the side section.
Should I choose an all-scissor cut for the transition?
The useful priority is retained coverage and the placement of the join, not a tool label alone. Explain if you want to avoid exposed scalp or prefer a particular method. Ask about an essential tool preference before booking, and discuss which approach can deliver the agreed outline.
Can I grow out the sides while keeping a perm in the top?
Identify the treated lengths that provide the movement you like. Shortening them can remove some of those bends. Share the perm history and any later bleaching or straightening so the transition is planned around the hair that remains, not just the original photograph.
Should I change the plan before a formal event?
Decide whether your priority is keeping length for the long-term shape or achieving a closer outline for the event. Show the front arrangement you want to wear that day. An edge adjustment and a demonstrated finish may suit the first priority; a shorter top involves a more lasting compromise.
Put the next step into practice
Develop your understanding of shape, cutting and styling with structured learning at Canvas. Hair styling courses in Hong Kong。
Explore practical guides for a clearer plan before your next style change. Canvas hair and beauty journal。
Tell the team which cutting or styling skills you would like to learn. Contact Canvas Academy。
Sources & further reading
- How to Do an Undercut — Wahl USA
Explains connected and disconnected undercuts, with blending at the head's rim used for the connected version and omitted for the disconnected version. Helps distinguish the upper join from a simple ear or neckline tidy.
- Tips for healthy hair — American Academy of Dermatology
Recommends gentle moisture absorption, limiting heat styling, low or medium heat with heat protection, and conditioner placement according to hair type. Useful for handling the retained longer top during grow-out.