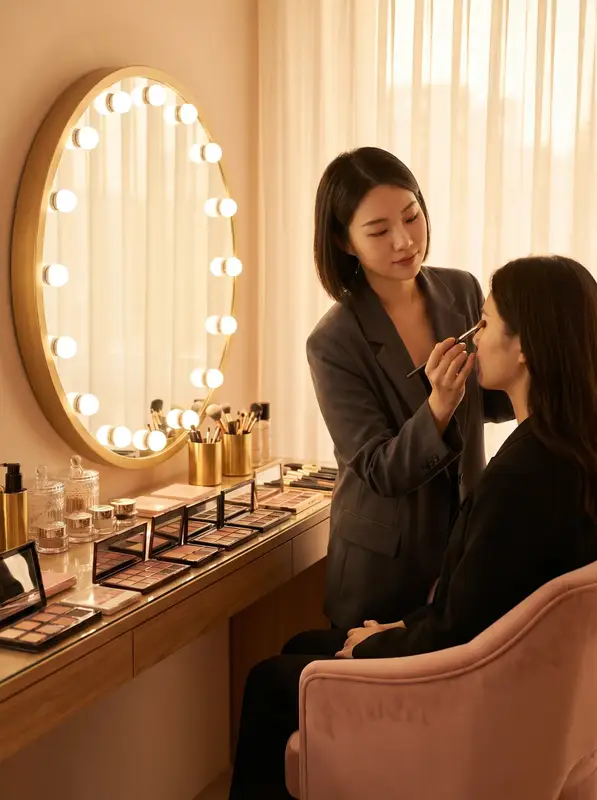
Define the morning you are actually trying to improve
A useful first lesson is not the one that covers the most products. It is the one that leaves you able to get ready on a normal Tuesday, with the mirror, light and time you really have. Before comparing lessons, write down three facts: when you need to leave, what makeup is already in your drawer, and the single feature you most want to make easier.
This changes the question from “What should a beginner learn?” to “What can I repeat without thinking too hard?” It also gives the instructor a practical brief. “I leave at 8:15, I own tinted sunscreen, concealer, brow pencil and lip tint, and my brows look uneven when I rush” is much more useful than “I want natural makeup.”
Work backwards from your real departure time
Do not call a routine “ten minutes” because it looks simple in a video. Count the time needed to choose products, find a clean brush, apply, check both sides of the face and put things away. If the household is busy, your usable time may be closer to eight minutes. Build in a small margin rather than planning every second.
A sample ten-minute map
This is an example, not a rule or a promise that every face needs the same steps. Its purpose is to show the scale of a repeatable routine. If you prefer only brows and lip colour, use the spare minutes for skin preparation or simply leave earlier.
| Time budget | One task | What you should be able to decide without guesswork |
|---|---|---|
| 0:00–1:00 | Clean hands, moisturiser or your usual daytime skin preparation | Whether the skin feels comfortable before colour products go on |
| 1:00–3:30 | Light base only where wanted, then targeted concealer | Where coverage helps and where it is unnecessary |
| 3:30–5:30 | Brush or pencil through brows and add small gaps | Which brow is the reference and when to stop adding product |
| 5:30–7:30 | One eye detail, such as curled lashes or a soft wash of colour | Placement that still looks tidy with your eye open |
| 7:30–9:00 | One cheek or lip product | How much colour suits daylight rather than a close-up mirror |
| 9:00–10:00 | Step back, check in daylight if possible, pack products away | The one adjustment worth making, if any |
The order can change. Someone with oily eyelids may prefer eyes before a base; someone who wears glasses may make brows the main visible feature. The important thing is to choose an order you can remember and to practise it until it does not depend on a tutorial playing beside the mirror.
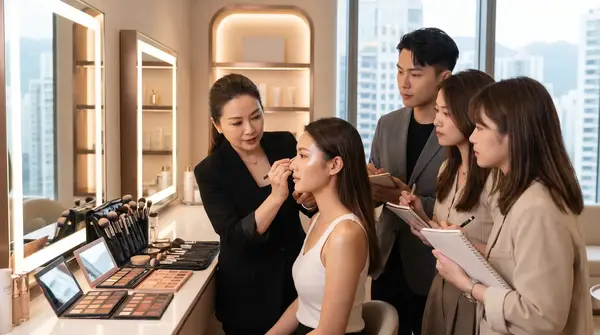
Pick one feature that deserves teaching time
A first lesson becomes more effective when it has one “slow” skill and several “fast” steps. The slow skill is the place where you want observation and correction: keeping brow starts soft, placing concealer without a heavy edge, choosing a liner angle, or finding blush placement that you can see in daylight. Everything else should support that skill.
Ask the instructor to demonstrate once, then let you perform the same step yourself on both sides. A demonstration can be helpful, but your hand pressure, mirror distance and dominant hand are what determine whether the technique survives at home. If time is limited, ask for feedback on your own attempt before moving on to another product category.
Audit the kit you already own before buying more
Lay out your current products the evening before a lesson. Include the items that you avoid using, not only your favourites. Take a quick photo of their labels and note any product that pills, feels uncomfortable or produces a result you dislike. The objective is not to prove that the kit is wrong. It is to distinguish a technique problem from a missing tool or unsuitable formula.
A sample lesson-kit note
Use a note like this as an example when you book or arrive:
“Weekday target: look awake and even in about ten minutes. Current kit: tinted sunscreen, liquid concealer, brow pencil, mascara, cream blush and lip balm. Main priority: stop concealer collecting under my eyes. Constraints: I take public transport and usually apply makeup in indoor light. Please show me an order I can write down and repeat.”
That note gives permission to skip steps that do not fit your life. It also lets you ask useful questions: Should the concealer be applied with a finger, brush or sponge? Does the brow pencil need a lighter touch? Which existing product can be left out when time is short? Record the answers as actions, not product names.
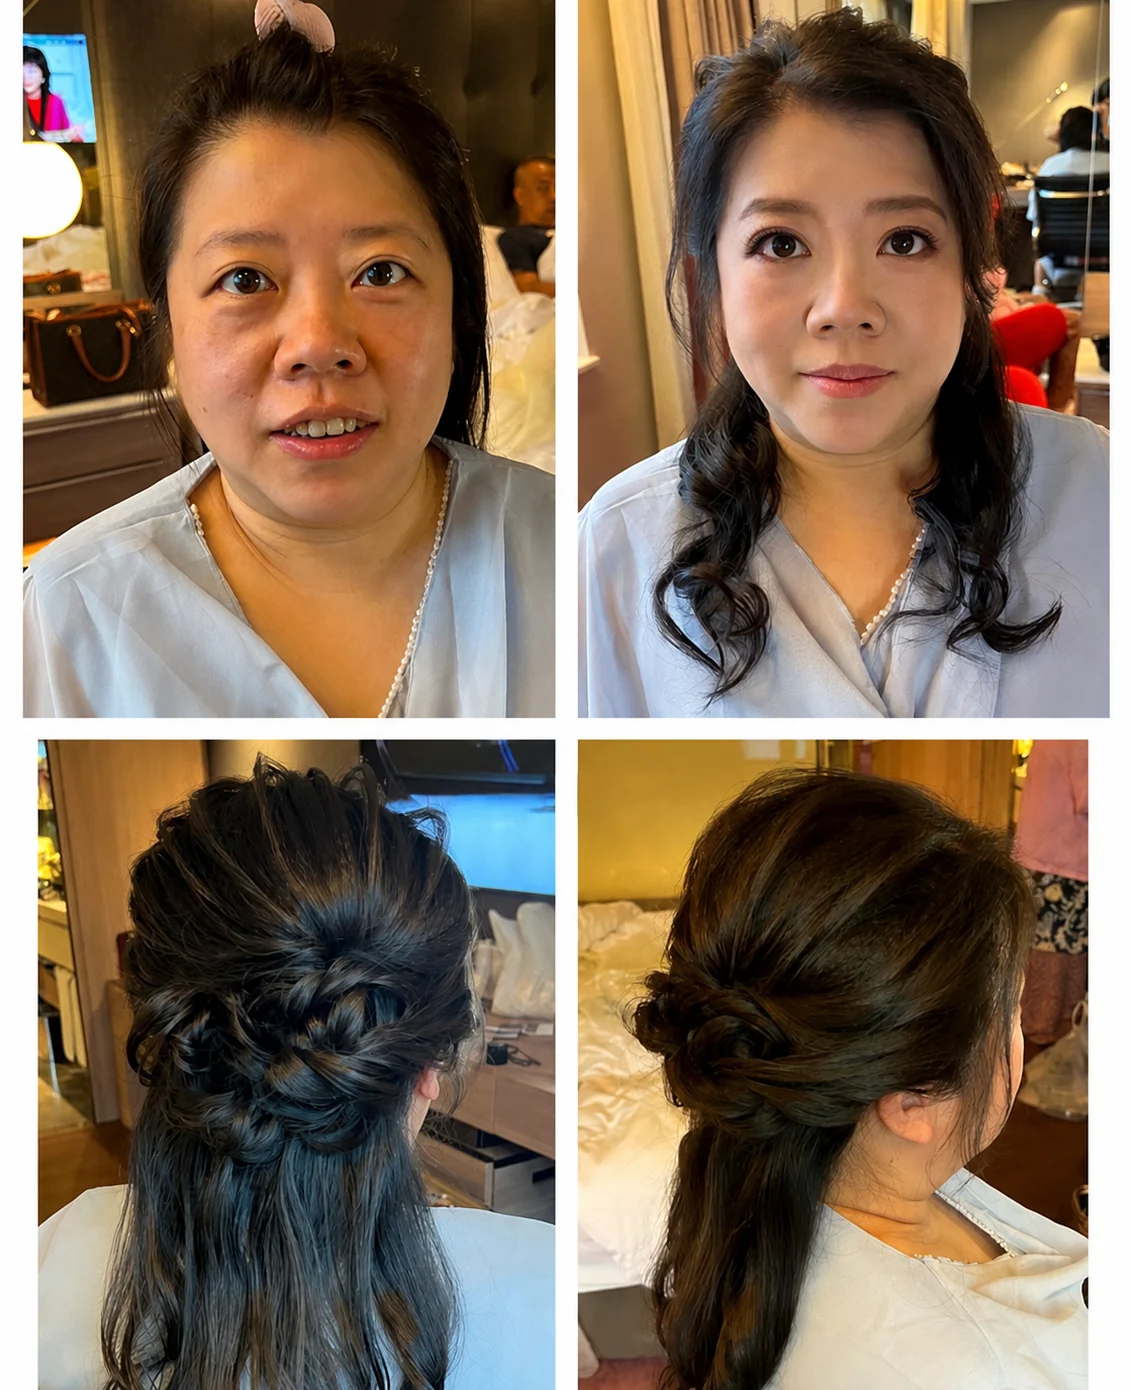
Choose the lesson format by the correction you need
Private teaching is most useful when your daily routine has a precise obstacle: deciding where a light base stops, adapting eye placement to your lid space, correcting brow imbalance, or working through the products you own. In that setting, say at the outset that you need repeated observation while you do the technique, not only a finished result.
For a published beginner outline that lists preparation, light base and concealing, natural brows, simple eye work and lip/cheek matching, the beginner makeup class Hong Kong page is a relevant place to check the current arrangement and ask whether your daily-routine brief fits its scope. It describes a practical introductory lesson, but confirm class size, timing, language and tools directly before enrolling.
If the priority is detailed feedback on your own base or eye technique, a 1:1 makeup lesson can be the more efficient format to ask about. Bring your kit and request that the agreed lesson time be allocated to your one slow skill; a private format is not automatically better if your need is simply to learn the basic sequence.
When the choice is less clear, use this question: “Will I need several rounds of correction on my own face, or do I mainly need an order to practise?” The published comparison of one-on-one versus group makeup class can help frame that decision. Read it as a discussion starter, then verify the current class details rather than assuming a format or schedule.
Turn the lesson into a rehearsal, not a performance
Tell the teacher at the beginning that the finished look is a rehearsal for a weekday. Ask to start with your usual skin preparation and, where feasible, your own products. Request a written or photographed sequence in plain verbs: moisturise, place, blend, brush, curl, tap. “Use a little” is harder to repeat than “place a pin-head amount on the inner shadow and blend the edge upward.”
A good end-of-lesson question is: “If I have only six minutes tomorrow, which two steps must stay and which can I omit?” Your answer might be skin preparation and brows, or base and lip colour. There is no universal emergency routine. The point is to decide before a rushed morning, not while trying to fix everything at once.
Practise on ordinary mornings in small loops
A simple practice plan is to repeat the full routine three times in week one, then do two timed runs in week two. This is an example, not a required number. On the first run, focus on the order. On the next, change only the slow skill. On a timed run, keep the changes that make the routine quicker without making you feel overdone. Photograph the result in similar daylight only if it helps you see a pattern; avoid chasing perfect symmetry in a single close-up.
Keep a one-line record after each try: “Base was comfortable; brow tail too dark,” or “Mascara was fast; skipped blush and still felt finished.” That record tells you whether a refresher should address technique, product choice or simply practice. It prevents the common beginner habit of replacing several products when one placement adjustment may be enough.
Keep the everyday routine gentle and hygienic
Comfort is part of repeatability. Start with clean hands, keep containers closed, and avoid sharing personal makeup. The FDA’s consumer guidance on cosmetics specifically advises washing hands before use, not sharing makeup, keeping containers clean, and discarding cosmetics that change in colour or smell. It also advises against adding saliva or water to mascara.
Prepare skin gently rather than scrubbing it into “makeup-ready” condition. The American Academy of Dermatology’s face-washing guidance recommends a gentle, non-abrasive cleanser, fingertips rather than abrasive tools, and patting dry. Those habits do not dictate a makeup look; they make it easier to notice whether a product itself is uncomfortable.
Do not push through irritation just to complete the practice plan. Stop using a product that causes an unexpected rash, redness or burning and seek appropriate professional advice. For active eyelid symptoms, the NHS advises avoiding eye makeup, especially eyeliner and mascara, while symptoms are present; seek urgent assessment for eye pain, vision changes or very red eyes. These are safety boundaries, not a technique challenge to solve in a class.
Decide what “success” looks like after the first month
At the end of a month, you do not need an expanded collection or a flawless full face to call the lesson worthwhile. A more useful test is practical: Can you set out the kit without searching? Can you complete the core steps inside your time limit? Do you know how to soften, remove or skip the step that slows you down?
If the answer is mostly yes, keep the routine stable and add one skill only when you are ready. If the answer is no, identify the single blocker and book a follow-up only for that purpose. For example, you may want additional base matching practice, a closer look at brow placement, or a simpler eye option. Progress is a routine that remains usable when you are tired, late or getting ready in ordinary lighting—not a one-class transformation.
Questions & answers
Should my first makeup lesson cover every product category?
No. A first session is more useful when it builds one dependable order and gives hands-on time to correct one priority feature. You can learn the names and purposes of other products, but do not sacrifice practice on the routine you will use most mornings.
What should I bring if I barely own any makeup?
Bring what you have, including products you find confusing, plus a note of your departure time and one goal. Ask in advance what tools or products will be available and how hygiene is managed. A small kit is enough to learn a sequence; avoid buying a large set before you know what you will repeat.
Is a group or private first lesson better for a complete beginner?
Neither format wins in every case. A group can suit someone who needs the basic order and enjoys a shared pace. A private session can be more useful if you need repeated correction on your own base, brows or eye placement. Choose according to the amount of individual feedback you need.
How can I remember the routine after the class?
Leave with a short sequence written in action words and repeat it soon on ordinary mornings. Keep products in that order. A brief note after each attempt—such as “brows were too dark” or “base took too long”—gives you one clear adjustment for the next practice.
What if makeup stings, causes a rash, or I have eye symptoms?
Stop using the product rather than trying to blend through the reaction. Follow product directions and seek appropriate healthcare advice for an unexpected reaction. Avoid eye makeup during active eyelid symptoms; eye pain, vision changes or a very red eye need prompt medical assessment.
Put the next step into practice
For the learning options at Canvas, explore makeup course Hong Kong。
For another practical reference, see bridal makeup Hong Kong。
To plan a next step that fits your needs, read makeup course Hong Kong。
Sources & further reading
- Using Cosmetics Safely — U.S. Food and Drug Administration
Supports advice on hand washing, not sharing makeup, clean storage, mascara hygiene and stopping use after an unexpected reaction.
- Face washing 101 — American Academy of Dermatology
Supports gentle cleansing, using fingertips, avoiding scrubbing and patting skin dry.
- Blepharitis — NHS
Supports pausing eye makeup during active eyelid symptoms and seeking urgent help for eye pain, vision changes or very red eyes.