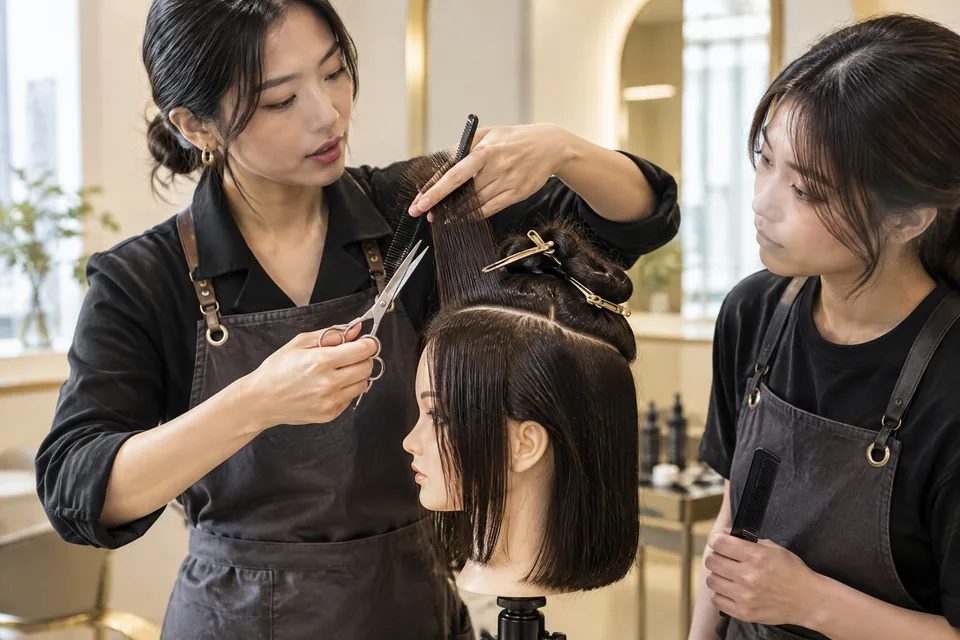
Read the fringe as an edge before choosing colour
Look straight into the mirror with your head level. Follow the lowest visible line of the fringe from one corner to the other. Is it a continuous dark boundary, or a sequence of strands with forehead showing between them? That distinction matters more than how dramatically textured the top looks in a styled photograph.
A forward crop puts a relatively small area of hair near the face. Lightening that area can make it the main feature even when most of the head remains dark. First decide whether you enjoy the existing edge. Then choose whether colour should emphasise its line, reveal pieces behind it, or draw attention towards a corner.
For the cutting choices behind that boundary, Vit So's textured crop haircut guide distinguishes retained fringe weight from visible separation. This is useful when your reference has a solid front but movement above it. Asking for both more texture and more brightness everywhere could move you away from the dense edge you originally liked.
Check the upper sides too. A dark temple area beneath a lighter top can make the change between them conspicuous. Keeping hair around the ears does not automatically soften a bright panel above it. View the join from the front and side, and decide whether you want a distinct top section or a quieter connection.
Mirror check: Point to one boundary you want to preserve and one area where you welcome more separation. They need not be the same part of the haircut.
Compare your everyday silhouette with the styled one
Take a front photograph and a profile photograph after drying your hair as you normally do, before styling product. Use the same location and head position for a second pair after styling. The comparison separates the shape you live with from the lifted strands or clumps that create a more deliberate finish. Avoid judging one in shade and the other beneath a bright spotlight.
Do not look only for the version that seems more impressive. Notice whether styling moves the fringe upwards, opens a natural gap or exposes the roots behind the front. A proposed light strand may be prominent in one arrangement and hidden in the other. Choose whether that changing reveal is enjoyable or whether you want colour visible without arranging the hair.
| What to compare | Product-free dry shape | Styled shape | Colour decision it helps with |
|---|---|---|---|
| Front boundary | Where the fringe actually settles | Whether pieces lift or bunch | Keep the boundary dark or make it a light focal line |
| Gaps between strands | Natural openings and coverage | Extra separation from styling | Place accents where they remain visible in ordinary wear |
| Temple connection | Width above the sides | Any lifted ledge | Leave a darker join or choose deliberate contrast |
| Crown surface | Natural turn and standing areas | Surfaces exposed by shaping | Avoid relying on a hidden patch for the main effect |
If the version you love has a lifted front rather than a forward fringe, rethink the cut direction before committing to colour. Vit So's comparison of short hairstyles for men explains how retained top length changes movement and morning effort. A colour plan for a raised front is not interchangeable with one that rests against the forehead.
Make two small dark-and-light sketches
A sketch can clarify a reference without trying to predict an exact result. Use a close front photo and mark only the visible fringe area. Let D represent hair you want to appear darker and L represent a lighter accent. These are design symbols, not strand counts, section sizes or instructions for applying colour.
A darker boundary with brightness behind it
Upper visible fringe:  D L D D L D
Lowest front edge:     D D D D D D
                       forehead
This sketch keeps the lowest edge visually continuous while placing brightness above it. It is a useful starting idea if you like forehead coverage but want the top to look less uniform. The darker boundary must still be checked in the normal dry fall: a lighter strand placed behind it can move forwards when the hair is lifted or separated.
A light edge as the main feature
Upper visible fringe:  D D D D D D
Lowest front edge:     L L L L L L
                       forehead
Here, the bright area becomes a band along the front. It may occupy less hair than several top accents, yet appear more conspicuous head-on. Choose this direction because you want to highlight the fringe itself, not because a small section sounds discreet. Its apparent continuity also depends on how the fringe separates when dry.
Show both sketches to your stylist and explain which effect you prefer. Grazia's interview with colour expert Christel Lundqvist advises deciding the haircut before placing colour and explaining the hair's natural fall. It also distinguishes very short cropped hair from longer bobs when discussing colouring approaches. That supports adapting the design rather than shrinking a long balayage photograph unchanged.1
Choose the light area's job, not just its shade
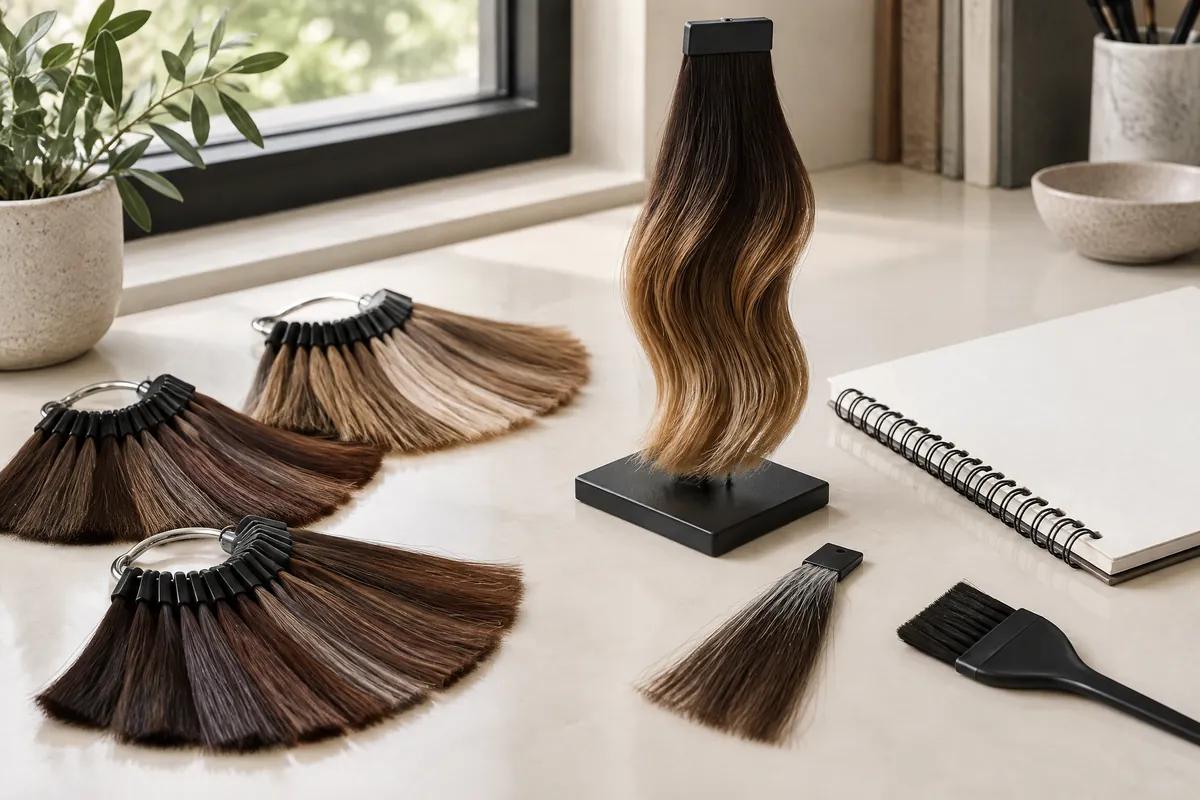
Separate three questions: how light the accent should look, how wide it should appear, and where it should draw the eye. A warm brown accent and a pale blonde accent can occupy the same position yet create different contrast. Several closely spaced fine strands may also make the whole top appear lighter than one wider strand surrounded by dark hair.
The following choices are hypothetical design directions, not examples of client results. Compare them against your own dry fringe and side join. There is no need to combine every attractive detail. Choosing a single focal area can make the request clearer, particularly when the top offers little length for a gradual change from dark to light.
| Desired impression | Placement idea to discuss | Main trade-off |
|---|---|---|
| Keep a firm front line | Small accents above a predominantly dark edge | Some brightness may disappear when the fringe lies flat |
| Make selected pieces stand out | Spaced lighter strands within the forward top | Separation changes when strands bunch together |
| Emphasise the fringe itself | A lighter front band or selected front sections | The front becomes a stronger focal feature |
| Show colour mostly from the side | An accent near one upper corner | The effect may be uneven from a straight-on view |
Vit So's guide to highlights for short hair considers strand width, darker spaces and the length retained after cutting. Those are useful questions even when the haircut is much shorter than a bob. Bring a shade reference separately from a placement reference if one photograph does not express both preferences clearly.
Draw the next trim before lightening the tips
On a side-view photo, draw the current front end and the shorter end you expect to request next time. Then mark the area you want lighter. If all the proposed brightness lies beyond the shorter line, that colour would leave with the removed hair. This simple drawing can prevent a mismatch between an ends-focused design and a plan to shorten the fringe.
A lighter section that extends into retained length can remain after its tip is cut, but remaining on the hair is not the same as remaining equally visible. A darker covering section may fall over it. Conversely, shortening that covering section can reveal more brightness underneath. Ask to consider both the retained strands and the surface seen in normal wear.
Design sketch of one strand — not to scale
Root → [dark area][light area retained] | [light tip removed]
                                      next trim line
Use this sketch to talk about a proposed trim, not to calculate how many appointments colour will survive. The actual cutting pattern, growth direction and change in style all matter. If your next visit is only for the sides, say that explicitly. There may be no reason to remove front length that still gives the colour the setting you enjoy.
Before deciding on placement, answer these three questions:
- Will the next cut maintain the forward fringe, shorten it noticeably or start growing it out?
- Is the light area on the visible surface, underneath a covering section or mainly at the tips?
- After the planned cut, do you want the same focal point or a different balance?
Match the colour change to the hair you will keep
A small patch is not automatically a light treatment. The work required depends partly on the starting colour and the degree of lightening wanted. The American Academy of Dermatology explains that larger lightening changes require stronger peroxide and can cause more damage. A restrained-looking accent therefore still needs a proper discussion of the hair's condition and previous processing.2
List permanent colour, home colour, bleach, perms and straightening on the lengths that will remain. Give approximate dates if exact dates are unavailable. Mention roughness or breakage you have noticed rather than trying to diagnose the cause. A history of lightening can matter even on a compact crop when those processed sections have not yet been cut away.
If pale contrast asks too much of the retained hair, discuss a less dramatic tonal difference, a smaller placement or leaving colour until the desired shape is established. These choices have different visual results; they are not substitutes guaranteed to reproduce the pale reference. Keeping the crop dark is also a valid decision when the outline already provides the contrast you want.
For the styling comparison, gently absorb moisture rather than rubbing the hair roughly. If you use a dryer, choose low or medium heat and heat protection instead of repeated hot passes to force every piece into position. These follow the American Academy of Dermatology's general care recommendations; they do not establish which fringe or colour placement will suit you.3
Bring a brief your stylist can act on
Combine your photographs and sketches into a short, specific request. A hypothetical example is: “I want the front to keep a dark, fairly continuous edge. I like two visible areas of brightness above it, but I normally let the fringe dry forward. At my next trim, I intend to tidy the sides rather than shorten the front.”
That brief describes an effect, not a formula. Your stylist can then discuss whether the proposed sections show in your hair's natural fall and how much contrast is practical. If the front consistently splits off-centre, show it before product hides the gap. A balanced visible effect does not necessarily mean placing identical sections on both sides of the head.
Prepare these details before a haircut-and-colour enquiry:
- Bring front and profile photos of your normal dry hair, plus the same views styled.
- Label the reference feature you like: dark edge, bright pieces, front band or side accent.
- Mark the next trim goal and any front length you want to protect.
- List previous chemical work on retained hair and any past colour-product reactions.
- Ask what the proposed work includes: cutting, lightening, tonal finishing and aftercare.
When discussing work with Vit So, keep those service elements separate. A haircut request does not by itself include lightening, and a small visible accent does not define the work needed to produce it. Ask for a quote based on the agreed design and processing plan, rather than expecting the apparent size of the colour patch to determine the service.
Keep cut upkeep and colour decisions separate
After the appointment, save a photograph of the relaxed dry shape as well as the styled finish. At the next visit, describe what changed first: the front feels too long, the sides look wider, the accent is hidden, or the light strands look warmer. Each observation points to a different discussion; none automatically means you need more lightening.
In a Hong Kong routine that includes commuting, exercise or headwear, the useful finish is one you can restore with the tools you actually carry or use at home. If resetting the fringe moves the bright pieces out of view, decide whether to change the placement next time or accept a quieter daytime version. The strongest design choice is the one whose everyday appearance you genuinely like.
Questions & answers
Can I try a bright fringe before committing to lightening?
A photo mock-up can help you judge a bright edge's location and width, but cannot predict salon colour exactly. Explain which effect appeals to you.
Does a darker fringe edge make fine hair thicker?
No colour placement increases density. A darker edge can preserve a more continuous-looking boundary, while strongly separated light pieces may emphasise gaps. Discuss retained fringe weight alongside colour if coverage is your priority.
Will purple shampoo keep every light accent the right colour?
No. Purple pigment is not a universal answer for every unwanted tone. Ask which product fits your finished colour and how to use it. A shade change may call for tonal adjustment rather than more lightening.
What if I sometimes wear the crop forward and sometimes swept aside?
Show both positions before placement is agreed. Identify which accents remain exposed and which become concealed. You can prioritise one everyday position or enjoy a changing reveal; a front-facing sketch alone cannot explain both.
Do all the sides need colouring to match a highlighted top?
No. Darker sides can intentionally separate the top from the ear area. Check the upper-side join from front and profile. Extending colour into very short sides changes the balance rather than automatically completing the result.
Put the next step into practice
Develop your understanding of shape, cutting and styling with structured learning at Canvas. Hair styling courses in Hong Kong。
Explore practical guides for a clearer plan before your next style change. Canvas hair and beauty journal。
Tell the team which cutting or styling skills you would like to learn. Contact Canvas Academy。
Sources & further reading
- How To Master The Ultimate Balayage Bob À La Lily James, Kaia Gerber & Co
Colour expert Christel Lundqvist explains why placement should follow the chosen haircut and natural fall, and why very short crops need a different interpretation from longer balayage bobs.
- Coloring and perming tips for healthier-looking hair
The American Academy of Dermatology describes the damage associated with larger lightening changes and gives general precautions for colour and perm products.
- Tips for healthy hair
Practical guidance on gentle moisture absorption, washing and conditioning for hair type, and limiting heated styling with low or medium heat and heat protection.