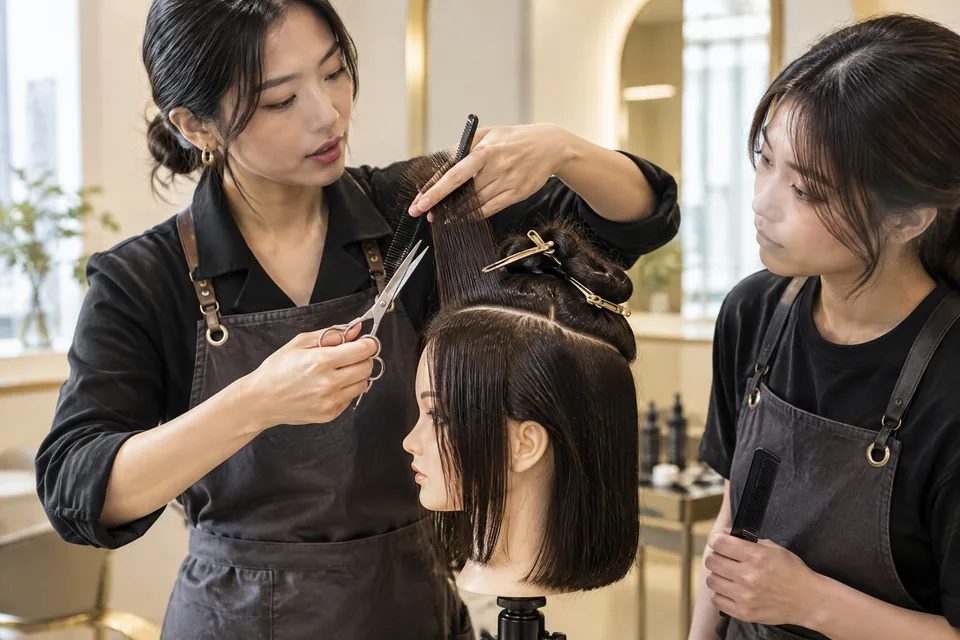
Start with a front, sides and back map
‘Lighter’ might mean less hair around your cheeks, a less solid bottom edge or simply a brighter colour. ‘Tidier’ might mean a fringe away from your eyes, less hair touching your ears or a sharper neckline. Neither word is wrong. The missing information is where the change should happen and what you do not want to lose.
Begin with your own hair in its usual parting. Look straight ahead, then turn sideways and use a second mirror for the back. Choose one familiar landmark for each area. Your request becomes easier to understand when ‘shorter at the front’ becomes ‘the shortest front pieces should still reach below my cheekbones when dry’.
| Zone | What to point out | A useful plain-English request |
|---|---|---|
| Front | Fringe endpoint, parting and cheek coverage | Keep my parting; move the fringe away from my glasses without shortening the longer front pieces. |
| Sides | Ear coverage, width and tuckable length | Keep my ears partly covered, but reduce the width just above them. |
| Back | Bottom edge, nape coverage and tied length | Keep the back below my collarbone and make the bottom line look more even. |
Treat this as a description, not an instruction about scissors or clippers. The same visible goal may require different decisions on different hair. Vit So's hair salon service information separates cutting, colour, texture and cosmetic care. That distinction is useful when ‘lighter’ describes several wishes that should not automatically become one combined appointment.
Replace vague adjectives with visible choices
When ‘lighter’ means less bulk
Separate the outside edge from the hair inside it. The outside edge is the line you see across the ends. Internal weight is the fuller area above that line. You can like your present length while disliking the width beside your face. Point to that width rather than asking for ‘lots of layers’ as a shortcut.
Sam Villa's professional cutting education illustrates how internal cutting can reduce bulk while retaining a blunt-looking surface. It also discusses preserving the outer line while adjusting interior weight. These examples show that ‘less heavy’ and ‘shorter overall’ are not identical requests; the technique still needs to fit the actual hair. 1
Choose the visual compromise you prefer. More separation through the ends may look airy, but a more solid edge may matter if you want substantial-looking lengths. Instead of demanding both extremes, say which matters more: ‘I would rather keep a fuller bottom edge than have a very feathery finish.’ That gives the cutting discussion a clear priority.
When ‘tidier’ means a clearer boundary
Locate the untidy area precisely. On short hair, it could be the outline touching the top of your ear rather than the whole side. On longer hair, it could be uneven-looking ends rather than the crown. Compare an exposed boundary with a covered one: a clean ear outline looks different from hair that lies neatly over the ear.
For a neckline, show where you want the visible edge to sit and whether you prefer it sharply defined or softer. For a fringe, describe what it interrupts: reading, glasses or your view. ‘Keep it off my lenses’ provides a practical test. ‘Make everything tidy’ leaves too much room for someone else's idea of neatness.
Annotate reference photos instead of collecting more
Prepare recent front, side and back photographs of your own hair, then select a small number of inspiration pictures. Keep the two sets separate. Label your own photos ‘usual air-dried hair’ or ‘brushed and blow-dried’ as appropriate. A reference should explain a preference, while your current photos show what needs to be considered to achieve it.
Make marks outside the hair where possible, so you do not obscure the outline. A horizontal line can show an endpoint. A circle can identify unwanted width. An arrow can show the direction you like. Put a short note beside each mark: ‘keep this length’, ‘less width here’ or ‘not this fringe’.
The following are hypothetical annotation examples, not client results. They demonstrate how to borrow one feature without requesting an entire photograph:
- Example A, shoulder-length hair: Draw a line at the collarbone: ‘Keep this bottom length.’ Circle the jaw area: ‘Less width here.’ Point to curled ends: ‘Like the curve for occasions, not a daily styling requirement.’
- Example B, short hair: Circle the area above the ear: ‘Closer here, with some coverage.’ Point to the fringe: ‘Keep enough length to sweep sideways.’ Mark the nape: ‘Softer edge, not a squared-off line.’
A second picture can show a boundary rather than another ideal. Label it ‘too short around the face’ or ‘too exposed at the nape’. If two pictures disagree, resolve the conflict before presenting them. Combining the long fringe from one with the uncovered forehead of another does not communicate a single everyday shape.
Decide what comes from the cut and what comes from finishing
A photograph records one finished moment. It does not reveal whether a rounded edge came from cutting, a brush, hot tools or a texture service. Start with the visible length and outline, then ask how the polished detail was created. This avoids removing hair simply to imitate a bend that was produced during styling.
| Detail you like | What to discuss first | Trade-off to explore |
|---|---|---|
| Shorter fringe or different bottom length | Cutting | Less length versus the coverage and tied options you want to retain. |
| Smooth surface or curled-under ends | Drying and finishing | An occasional polished finish versus steps you will repeat at home. |
| More space between pieces | Cutting and product use separately | Visible separation versus how substantial the ends should look. |
| Brighter pieces around the face | Colour placement | A colour change, not simply removal of cutting weight. |
| Waves that you want after washing | Natural texture and possible texture services | Desired movement versus hair history and a different care routine. |
Describe your real routine, not an aspirational one. ‘I dry with my fingers and do not use a round brush’ is more useful than ‘easy to manage’. If you enjoy styling on weekends but not before work, ask for an everyday version and a dressed-up version. You can like both without expecting them to look identical.
Heat use belongs in that decision. The American Academy of Dermatology recommends air-drying when possible, using the lowest heat setting and reducing hot-tool use to help limit damage. If your chosen finish relies on repeated heat styling, weigh that routine against a shape you are comfortable wearing with less intervention. 2
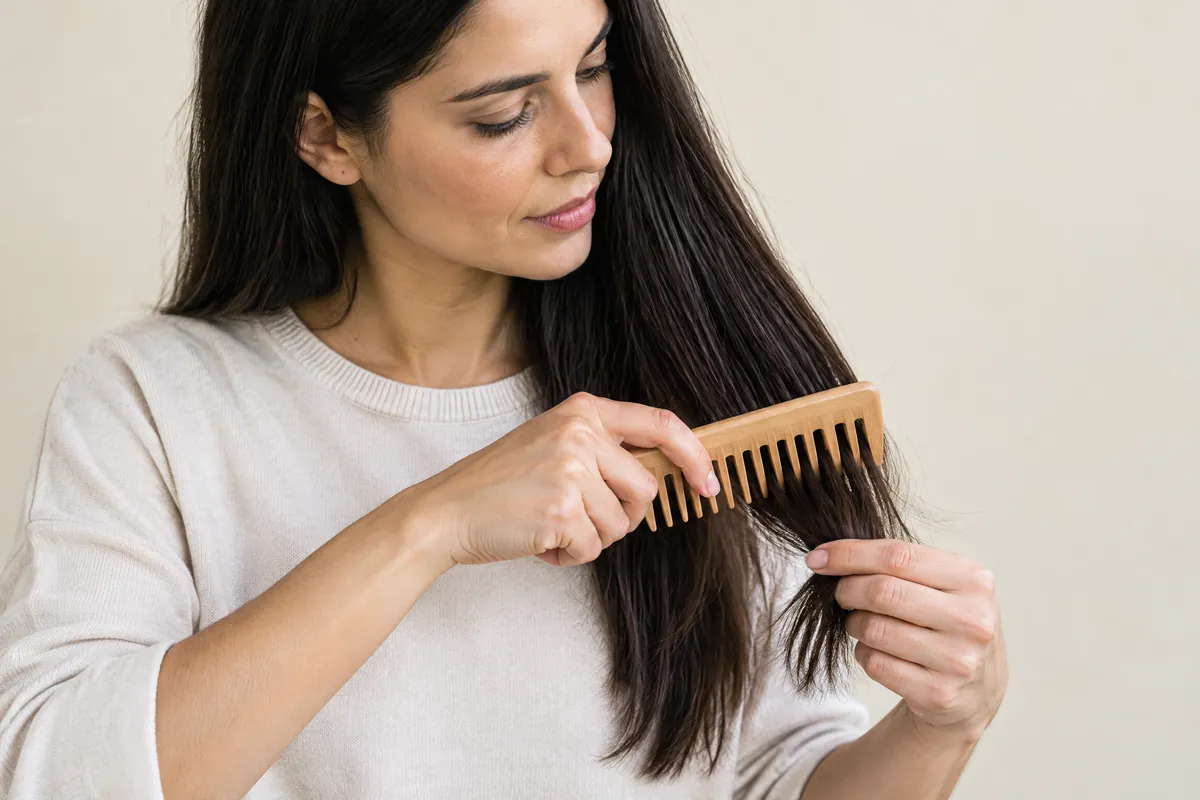
Write a keep/change checklist before choosing techniques
Start with the things that already work. Keeping a familiar parting, ear coverage or enough front length to tuck away can be more important than the name of the new style. Then choose one main frustration. Ranking these points helps when the most dramatic version of a reference would remove something you rely on every day.
Use these prompts as a short preparation checklist. Fill them with observations rather than a catalogue of hair terms:
- Keep: My preferred bottom endpoint, parting and amount of face or ear coverage.
- Change: The specific area that feels too wide, falls forward or has an edge I dislike.
- Function: The pieces that must reach my usual hair tie or tuck behind my ears.
- Routine: The tools and products I actually use, including anything I do not want to add.
- Priority: The one improvement I would choose if two wishes cannot be achieved together.
Test the functional requirements yourself. Tie your hair at its normal position and identify the front and side pieces that only just reach. Wear your usual glasses and notice where the fringe catches. You are not measuring a finished cut at home. You are showing why a particular piece of retained length matters.
Be precise about ‘keep the length’, too. It can mean keeping the longest back pieces while accepting a shorter front, or keeping every area broadly unchanged. Say which you mean. If the bottom edge needs evening out, ask to see the proposed endpoint in the mirror before cutting starts, rather than relying on the word ‘trim’.
Let your starting hair influence the compromise
Look for references with comparable natural movement and fullness, but do not treat a resemblance as proof of the same result. A sleek photograph may hide waves; a voluminous finish may conceal relatively fine lengths. Explain what your hair does before styling, especially where it turns outward, separates or stands away from the head.
If the ends already look sparse to you, ask what would happen to their appearance before requesting more removal throughout. If your hair feels dense at the sides but acceptable at the back, focus the discussion there. If a wave makes your dry endpoint look higher, describe the length you want to see when dry, not just the length of a stretched strand.
Share previous salon and home colour, bleaching, perms and straightening, with approximate dates and the areas still carrying those processes. The American Academy of Dermatology includes colouring, perming and relaxing among practices that can damage hair. That history matters when deciding whether a photographed texture should be approached through cutting, finishing or further chemical work. 2
Describe roughness or tangling separately from shape. Softer-feeling lengths are a cosmetic-care goal; a different fringe endpoint is a cutting goal. Neither description needs a diagnosis. For a discussion with a hairdresser, your three-zone notes and processing history give practical context alongside the reference image, rather than asking the photograph to explain everything.
Practise a request that includes the trade-off
A useful request has four parts: the present problem, the area, the feature to preserve and the routine. You do not need to speak like a professional. The hypothetical examples below use everyday language and deliberately leave the technique open, while giving the stylist enough information to explain the likely compromise.
‘The sides look wide beside my jaw. I want less width there, but I want to keep a solid-looking bottom edge below my collarbone. The front still needs to tuck behind my ears. I usually let it dry naturally, so the curled finish in this picture is only an occasional option.’
For shorter hair, make coverage as clear as length. ‘Short at the sides’ could mean anything from uncovered ears to a close shape that still covers their upper edge. Show that boundary on a side photo. If you want a swept fringe, say whether you will use product or simply guide it while drying.
‘The hair above my ears sticks out, so I want a closer side shape while keeping some ear coverage. Please keep the front long enough to sweep across rather than straight down. I prefer a softer neckline to a hard square edge, and I normally dry it with my fingers.’
Check the agreed shape from more than one view
Before cutting, point to the proposed front endpoint, side coverage and back edge in the mirror. Ask to see how the sides will join the back, not only how much comes off the longest strand. This is particularly useful when you have requested lighter internal weight but want the outer length to remain recognisable.
Vit So's haircut service information distinguishes an outline change from a wash-and-blow-dry finish. Carry that distinction into your final discussion: which lengths will change, which areas will keep coverage and which detail will come from styling? An attractive finished photograph is easier to evaluate when you know what created its shape.
After your first normal wash and drying routine, compare the same three views with your original notes. Record a specific observation if something feels awkward: ‘the right side lifts above my ear when finger-dried’ is clearer than ‘it looks wrong’. Keep your glasses and usual tied style in the check. The aim is to judge the cut you live with, not reproduce a salon photograph every morning.
Questions & answers
Is giving a measurement in centimetres better than saying ‘a trim’?
A measurement helps, but pair it with an endpoint you can see. Removing two centimetres from the back does not explain how short the fringe should become. Point to the desired dry length and ask which areas would need different amounts removed to achieve the agreed outline.
Can I ask for a refresh while growing my hair longer?
Yes. Identify the areas you are growing and the edge that bothers you. Keeping every millimetre and creating a new outline may conflict. Ask which small adjustments would improve the shape, and which shorter areas should gain length.
What if I cannot find a reference with hair like mine?
Borrow one labelled feature, such as ear coverage, rather than the whole look. Your own front, side and back photos become especially useful. Ask how that feature would differ with your natural texture, length and drying method.
Should I decide on layers before the consultation?
Explain where you want movement and where you want fullness retained. The shortest visible pieces and the bottom edge are separate choices. Let the discussion connect those preferences to a cutting approach rather than making ‘layers’ the whole request.
How should I mention my budget when describing the style?
State your spending boundary and rank cutting, finishing and colour or texture wishes separately. Ask for the total charge and included work before agreeing. If the reference involves several services, prioritise the outline and leave optional changes for another discussion.
Put the next step into practice
Develop your understanding of shape, cutting and styling with structured learning at Canvas. Hair styling courses in Hong Kong。
Explore practical guides for a clearer plan before your next style change. Canvas hair and beauty journal。
Tell the team which cutting or styling skills you would like to learn. Contact Canvas Academy。
Sources & further reading
- Best Hair Cutting Techniques: The Ultimate Guide — Sam Villa
Professional cutting examples explain how internal weight can be adjusted while preserving an outer line, helping readers distinguish a lighter shape from shorter overall length.
- 10 hair care habits that can damage your hair — American Academy of Dermatology
Practical guidance on reducing heat exposure and recognising that colouring, perming and relaxing can damage hair helps readers weigh their desired finish against their routine and processing history.